AI Credits
This page covers how AI credits work. For plan and seat-based billing, see Billing and plans.
How AI credits work
Linear’s coding sessions and Loops features are billed based on actual usage, not a fixed per-seat fee. Charges are deducted from a prepaid, workspace-level balance.
- Your balance is shown in US dollars
- The balance is pooled across the workspace and shared across AI features that use it
- You add funds to your balance before they are spent by topping up your credit balance
Using AI credits is opt-in. If your workspace never adds funds, you will not have access to these additional features, and you will never be charged for them.
How AI credits are used
| Feature | Available on | How it's billed |
|---|---|---|
| Coding sessions | Basic, Business, and Enterprise | Per session. Cost includes model tokens at provider-published rates, with no markup, and sandbox runtime at $0.25 per 20-minute block. |
| Loops | Basic, Business and Enterprise | Per loop run. Typical runs without a coding session cost $0.07–$0.20. Costs vary based on the work the loop performs; runs that start a coding session also incur the applicable coding-session costs. |
AI credits are currently used by:
- Coding sessions, when Linear Agent writes code and creates pull requests
- Agent loops, when a loop runs agent work in the background
Other Linear AI features are included in your plan and do not draw from your AI credits balance.
You can review AI credit usage in Settings → Usage & limits. For coding sessions, hover over a session’s cost to see token cost by model, compute cost, and total cost.
Choosing a coding session model
By default, coding sessions use the latest zero-data-retention models. You have the option to select from a number of available models here, which affects the quality and cost of code changes - more on this in our coding sessions docs.
Adding credits to your balance
Adding credits is restricted to Workspace admins (Owners on Enterprise workspaces). You can add credits from Settings → Workspace → Billing → AI Usage and credits.
Ad-hoc credits
To add credits on an ad-hoc basis, click the Add credits button at the top of the page. Select the amount or select Other to input an amount of your choosing - minimum top up is $10 USD.
Automatic Reload
To add credits on an automatic basis, you can set up Automatic Reload. You can choose a balance that you don’t want to go below, and then set the amount that you want automatically added when you reach the threshold - minimum auto top-up is $50 USD.

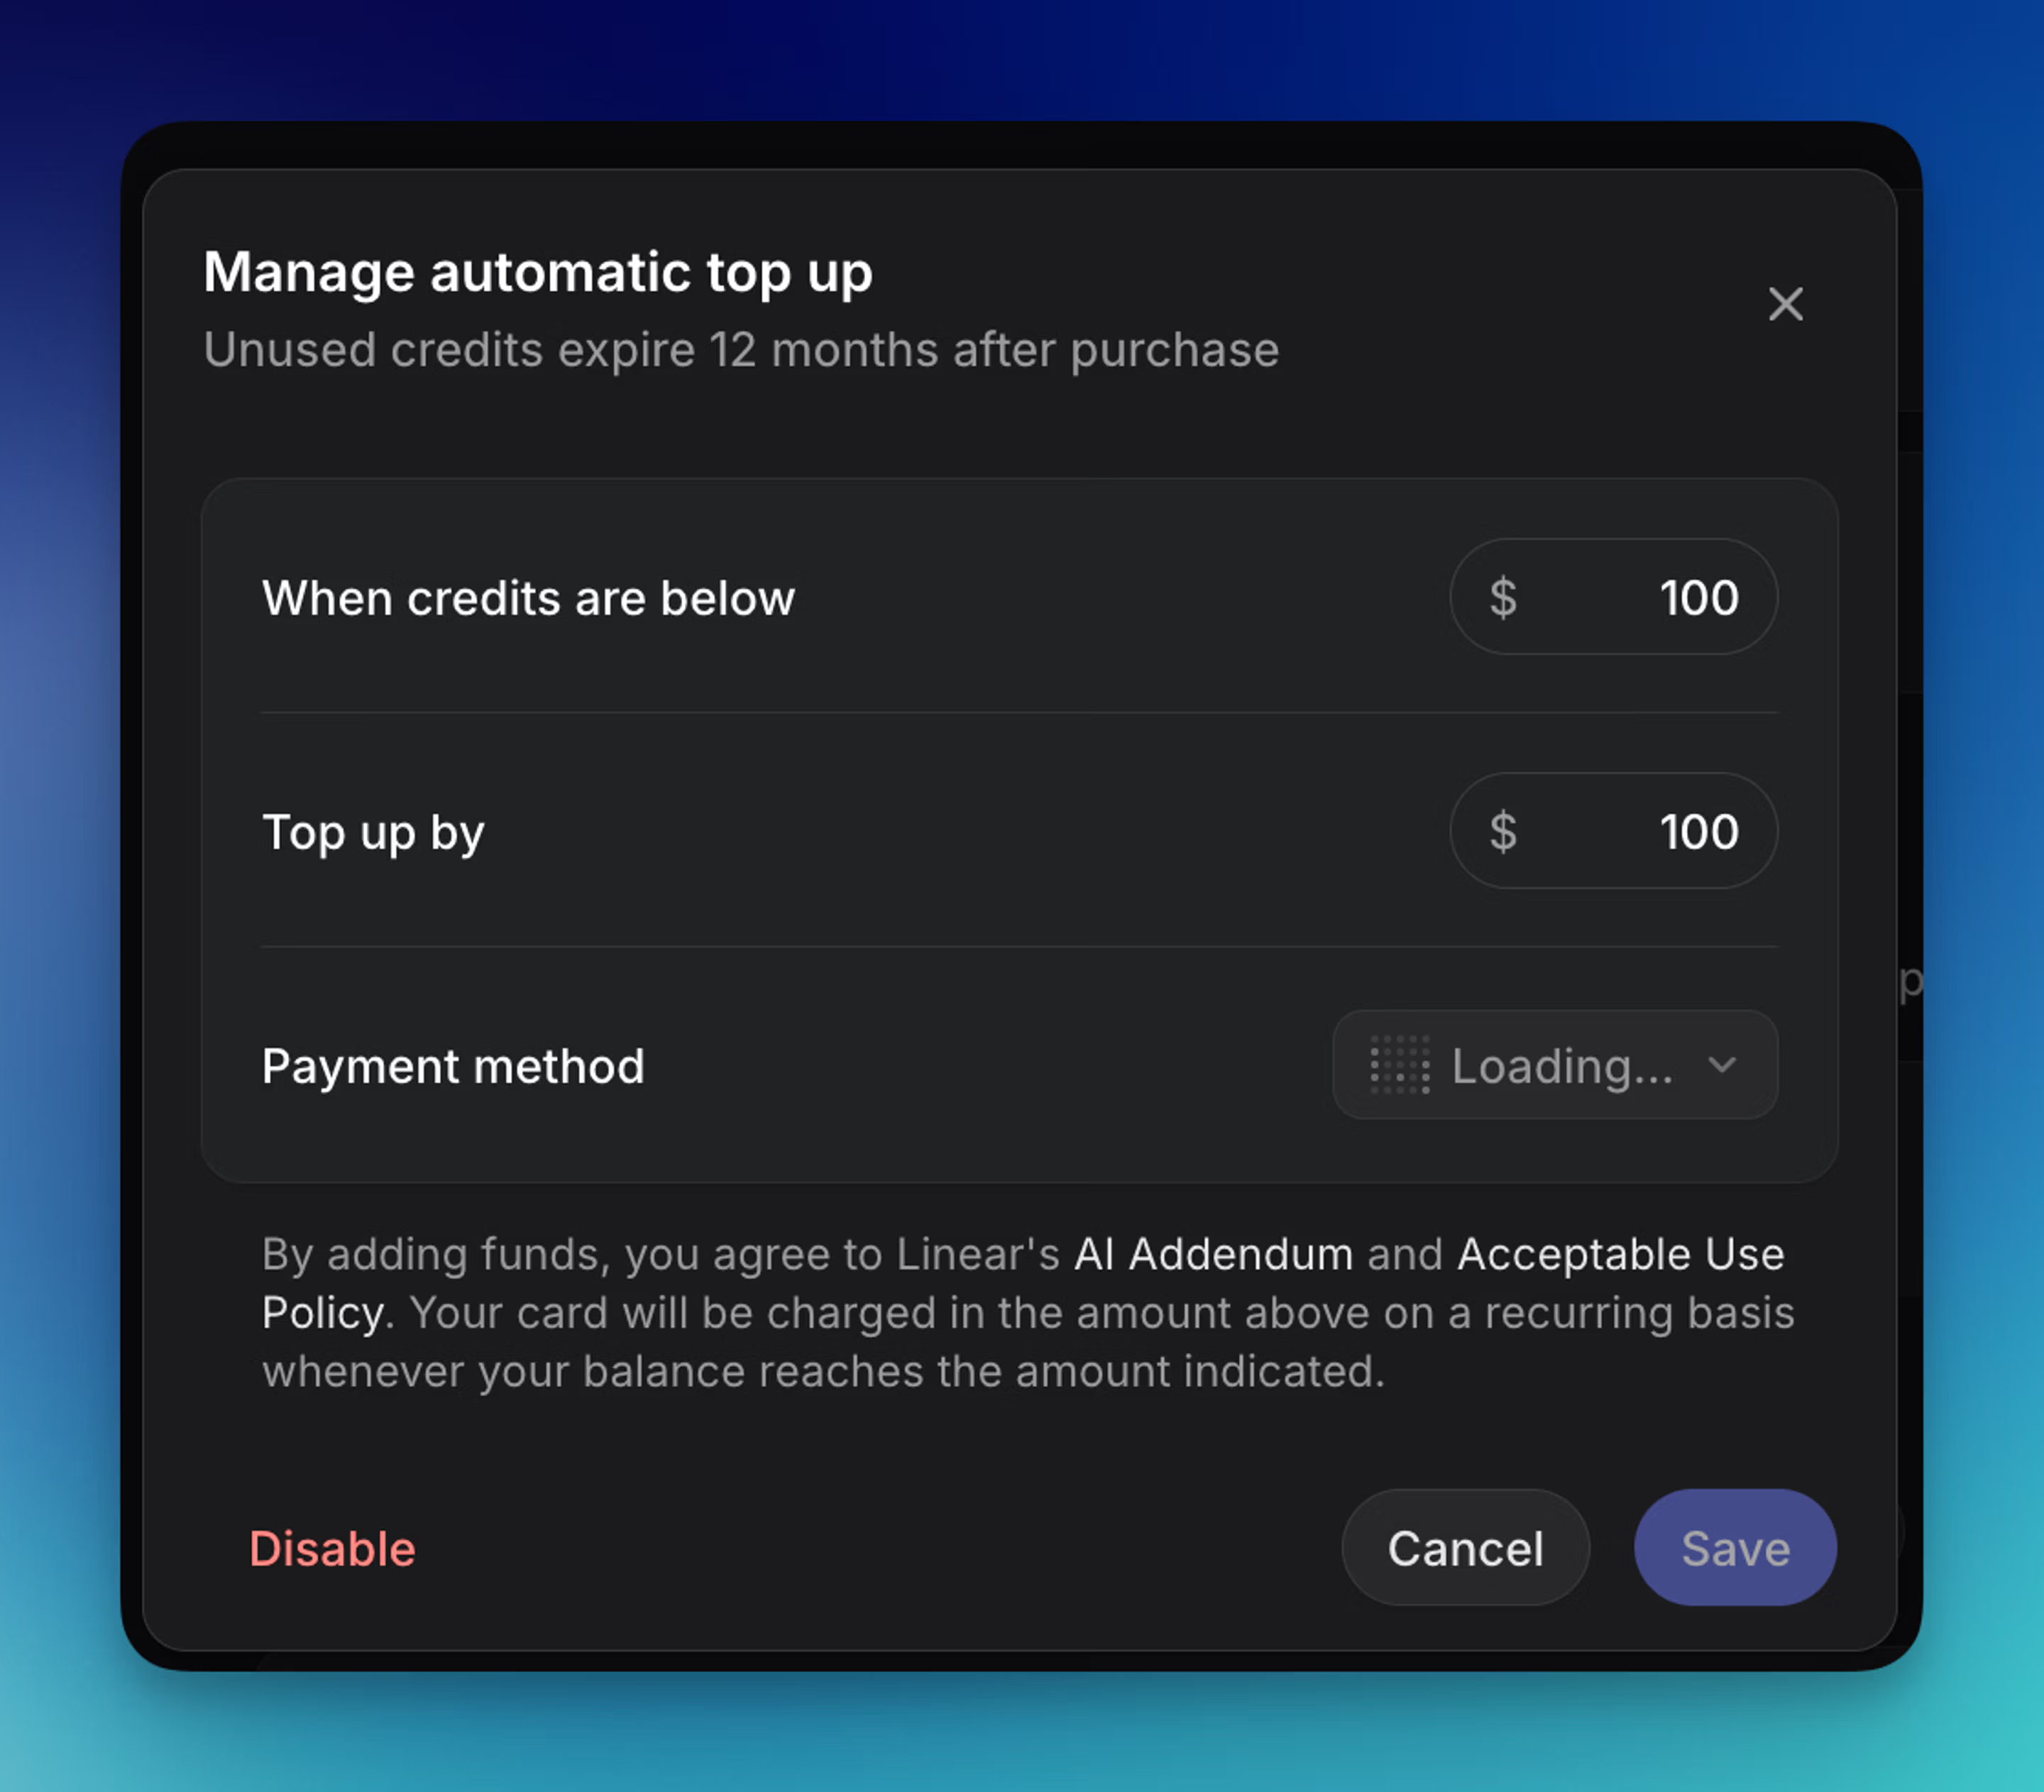
Top-ups are processed by Stripe and produce a separate invoice from your regular Linear subscription invoice.
Payment methods
- Credit cards are the only accepted payment method for buying credits in billing settings
- AI usage can use a different card than your core Linear subscription if desired
Currency and tax
Top-ups are processed in USD and sales tax is applied where applicable based on your billing address.
Expiration
- Funds you add expire 12 months after the purchase date
- Promotional balances will have their own expiration dates, visible in the Usage and credits dashboard
- Unused balance rolls over across subscription billing cycles. It is independent of your Linear subscription period
- Expired balances cannot be refunded, transferred between workspaces, or restored
Order of use
When your workspace has multiple types of credits at the same time (for example, promotional credits alongside a top-up you added), they are consumed in this order:
- Promotional credits (one-time grants when turning on a feature)
- Credits issued by Linear support
- Credits you added yourself
Within each group, credits closest to expiry are consumed first. A single task may draw from more than one balance.
Running out of credits
If your workspace runs out of credits, features that require a balance will not be able to begin new work. You’ll receive low-balance and expiration alerts in advance.
Balances are not updated in exact real time, so your workspace may briefly go slightly negative (e.g. multiple tasks running at the same time), typically by only a few dollars. Your next top-up will first cover any outstanding amount, then add the remaining funds to your balance. For example, if your workspace credit balance is -$1 and you add $50, your new balance will be $49.
View and manage your usage
Review AI credit usage and manage spend limits in Settings → Usage & limits. See Usage & limits for details on exploring usage, exporting reports, and configuring limits.
Adjustments
- If a task fails because of a Linear platform issue, please contact support so we can investigate and adjust where appropriate
- Failed runs, retries, or partial completions are billable for the resources used
- Funds you’ve added are non-refundable and non-transferable
FAQ
All existing Business and Enterprise workspaces, and workspaces who upgraded to a Basic, Business or Enterprise plan within 30 days of this launch received launch credits.
Not at this time. If AI credits are enabled for the workspace, anyone who has access to features that use AI credits can spend from the shared balance, including coding sessions and agent loops.
If you go to Security, Integrations & applications there is a toggle to Prevent guests from interacting with agents in the workspace. That prevents guests from using coding sessions and other agent features that consume AI credits.
Workspace admins can control who can create, update, and delete workspace loops from Settings → Security → Workspace management → Manage loops. Team-level loop permissions may also depend on permissions for the team where the loop is created.