Projects
Create Projects for features or large units of work.
Overview
Projects are units of work that have a clear outcome or planned completion date, such as a new feature's launch and are comprised of issues and optional documents. They can be shared across multiple teams and come with their own unique features, progress graph, and notification options.
Create a project
Create new projects directly from your workspace or team's project view by clicking the + button. This action opens a prompt where you're asked to fill in specific fields. While the only required field is the project name, we recommend also assigning a project lead and updating the project icon for better visibility and organization. To edit these properties later, simply right-click on a project within an Initiative or custom project view and select Edit project, or click on these properties from the project overview page.
Delete a project
To delete a project, click the three dots next to a project name and select Delete.
Deleted projects can be found in the team's archive under "Recently deleted projects" tab for 14 days before they are permanently deleted.
View your projects
Each team has a Projects page which organizes the team's projects into a list, board, or timeline. There is also a Projects page at the workspace level so you can view all projects within your workspace in one location.
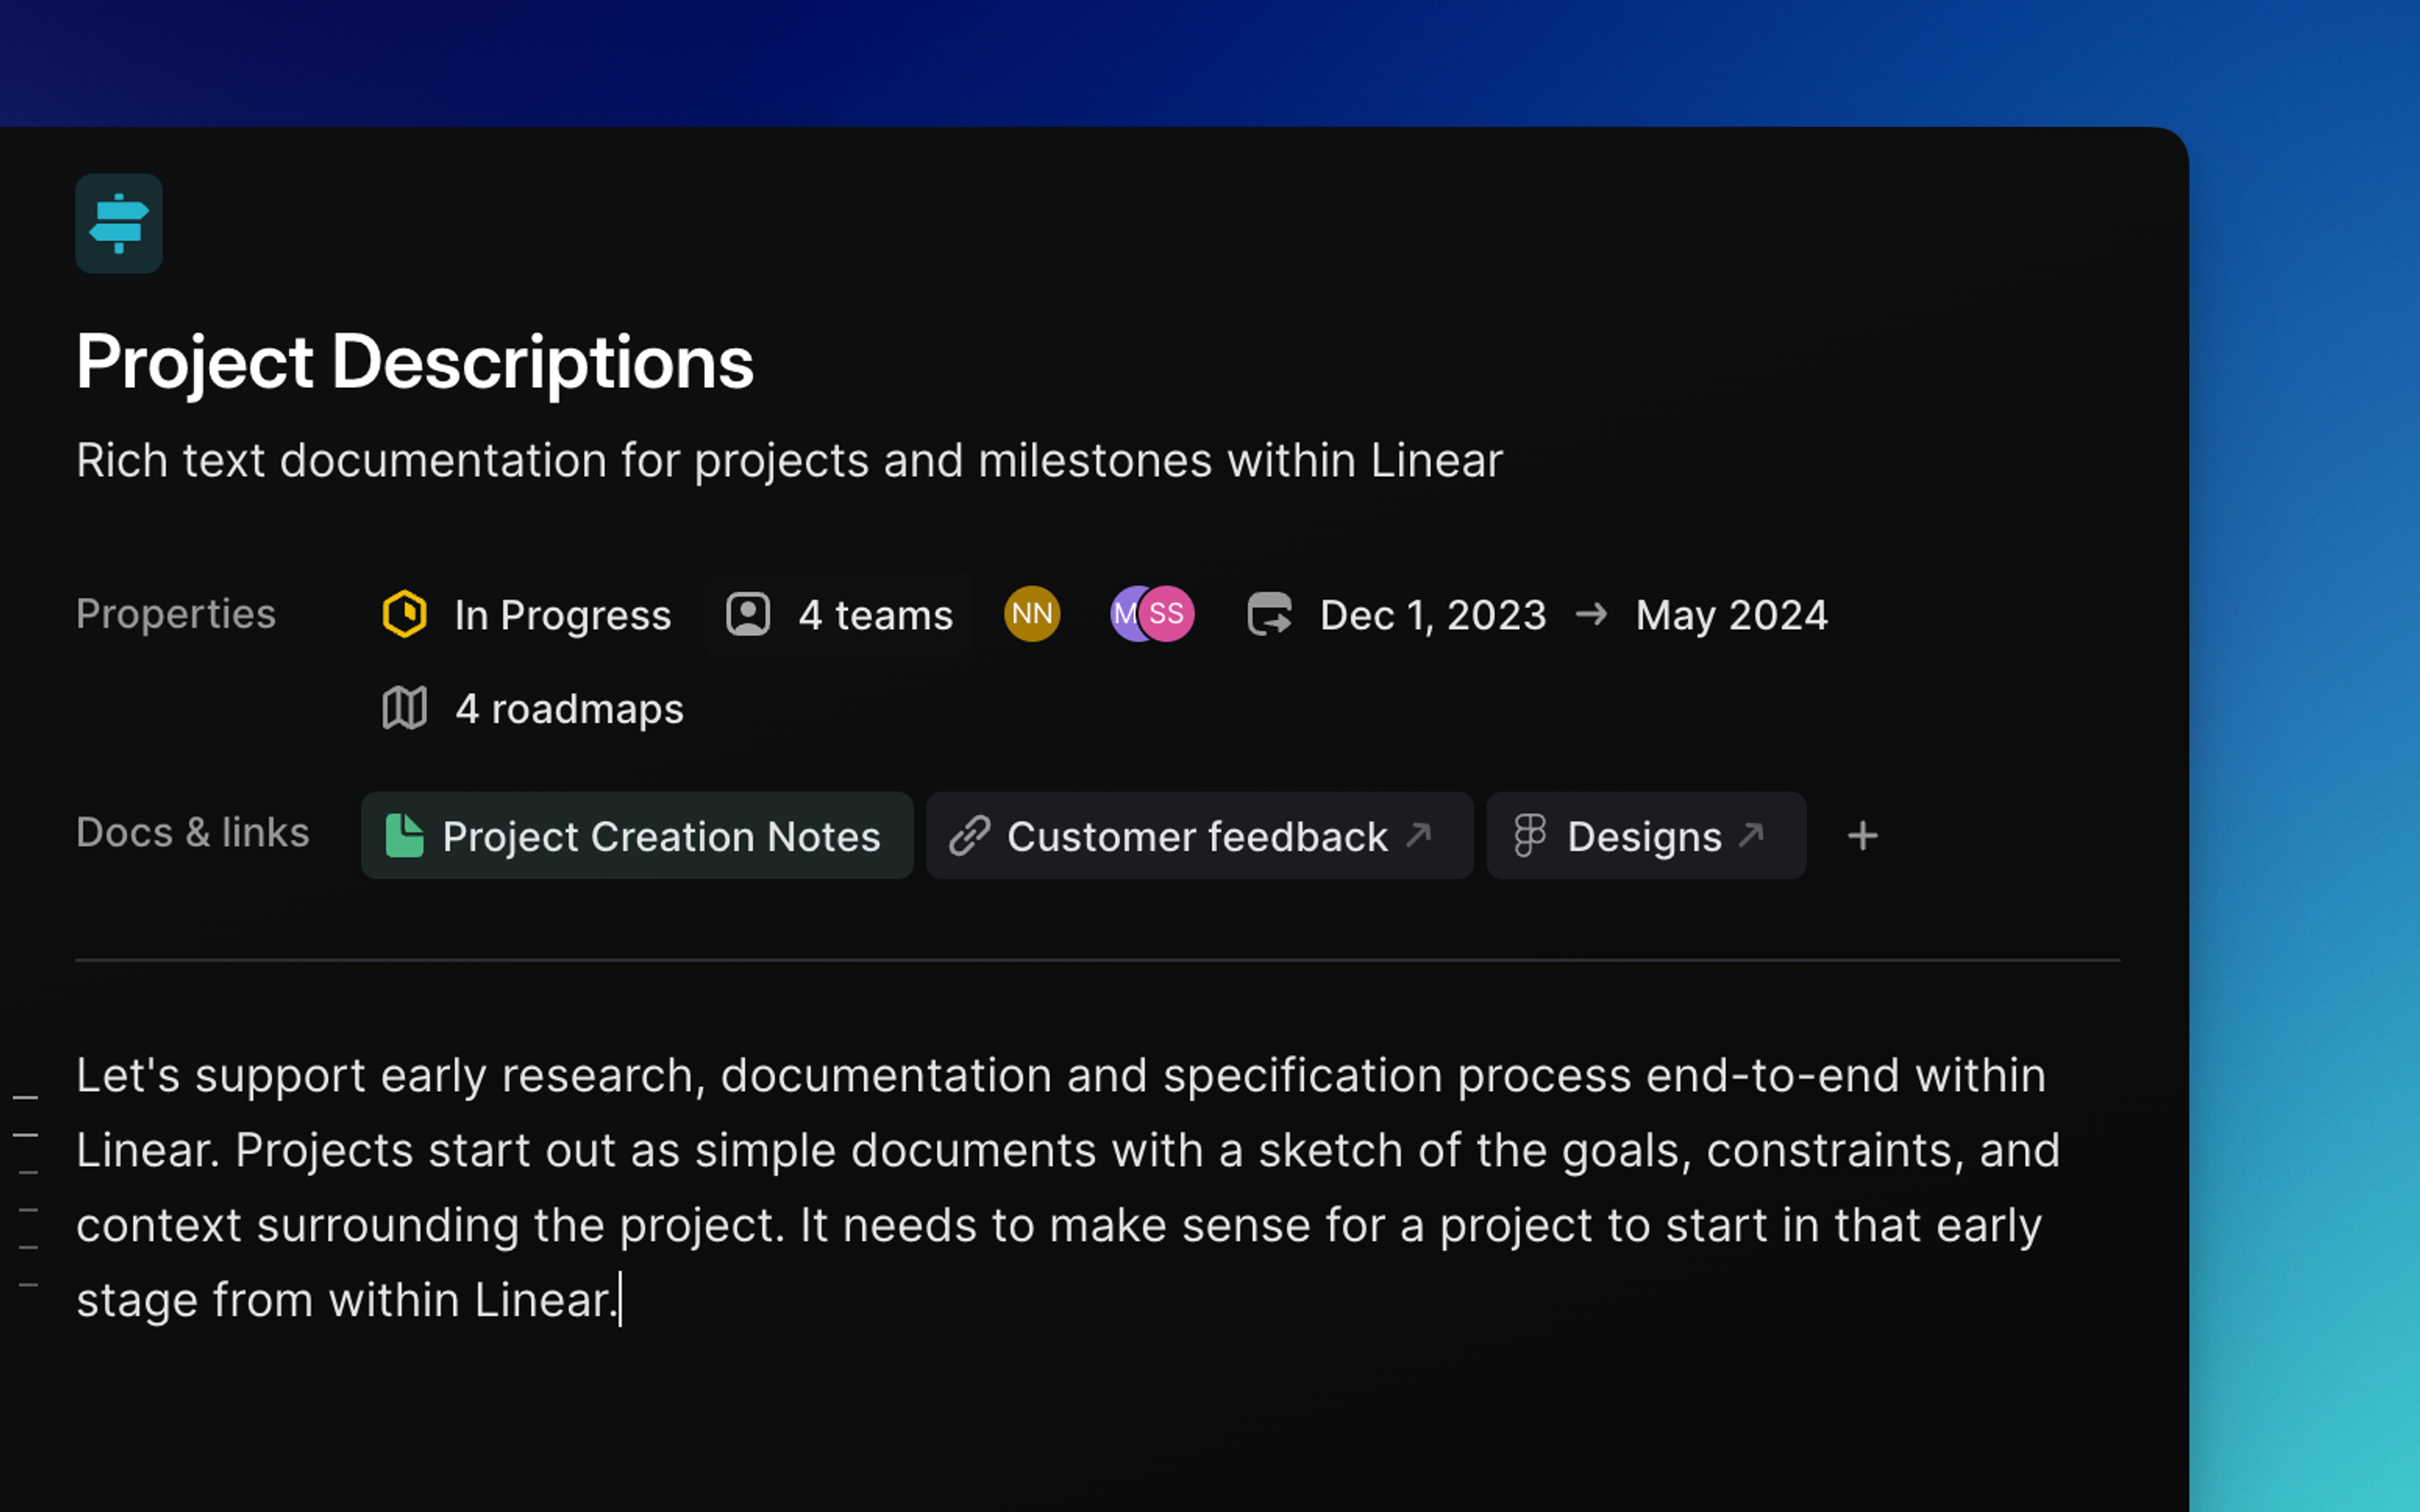
To explore a specific project, click on it to access the project overview. Here, you'll find a brief project summary, project properties, any associated documents and links, a detailed project description, and a list of project milestones.
Add issues to a project
Add existing issues to projects or move issues between projects by selecting the issues and using the shortcut Shift P. To create new issues in a project, use C from the project view or add the project property manually if creating the issue from another page.
Issues can only be associated with one project at a time. A workaround would be to create sub-issues for the task, then assign each sub-issue to a different project.
Attach issue views to projects
Next to the "Issues" tab in each project, you'll find the new view icon. This feature enables the creation of custom views of the project's issues. By clicking this icon, you can filter a subset of the issues and save this filtered perspective under a specific view name.
Once a view is created within the project, it can be repositioned by clicking and dragging it to the left or right to adjust the order in which these views appear. These views are accessible to anyone who has access to the project and are displayed as tabs, similar to the Overview and Issues tabs, allowing users to easily share and switch between different perspectives within the project.
Additionally, right-clicking on a view opens options to copy the view link, add it to your favorites, edit its details, or delete it.
current user. This ensures everyone viewing a project can quickly view all their issues. We also use a bug view that filters for all issues with the "bug" label. A "standup" view filtering for In Progress helps us have more efficient standups.Attach project views to workspace projects page
Similar to attaching issue views to projects, you can also attach project views within the workspace projects page. This allows you to create custom views of projects in your workspace. These views can be repositioned just like attached issue views within projects and are accessible to all members of your workspace.
Project details sidebar
Press the sidebar icon or use Cmd/Ctrl I to toggle the project details sidebar on or off. You'll be able to update any properties from here as well as add resources such as external files, create project documents, and view the project progress graph.
Multi-team projects
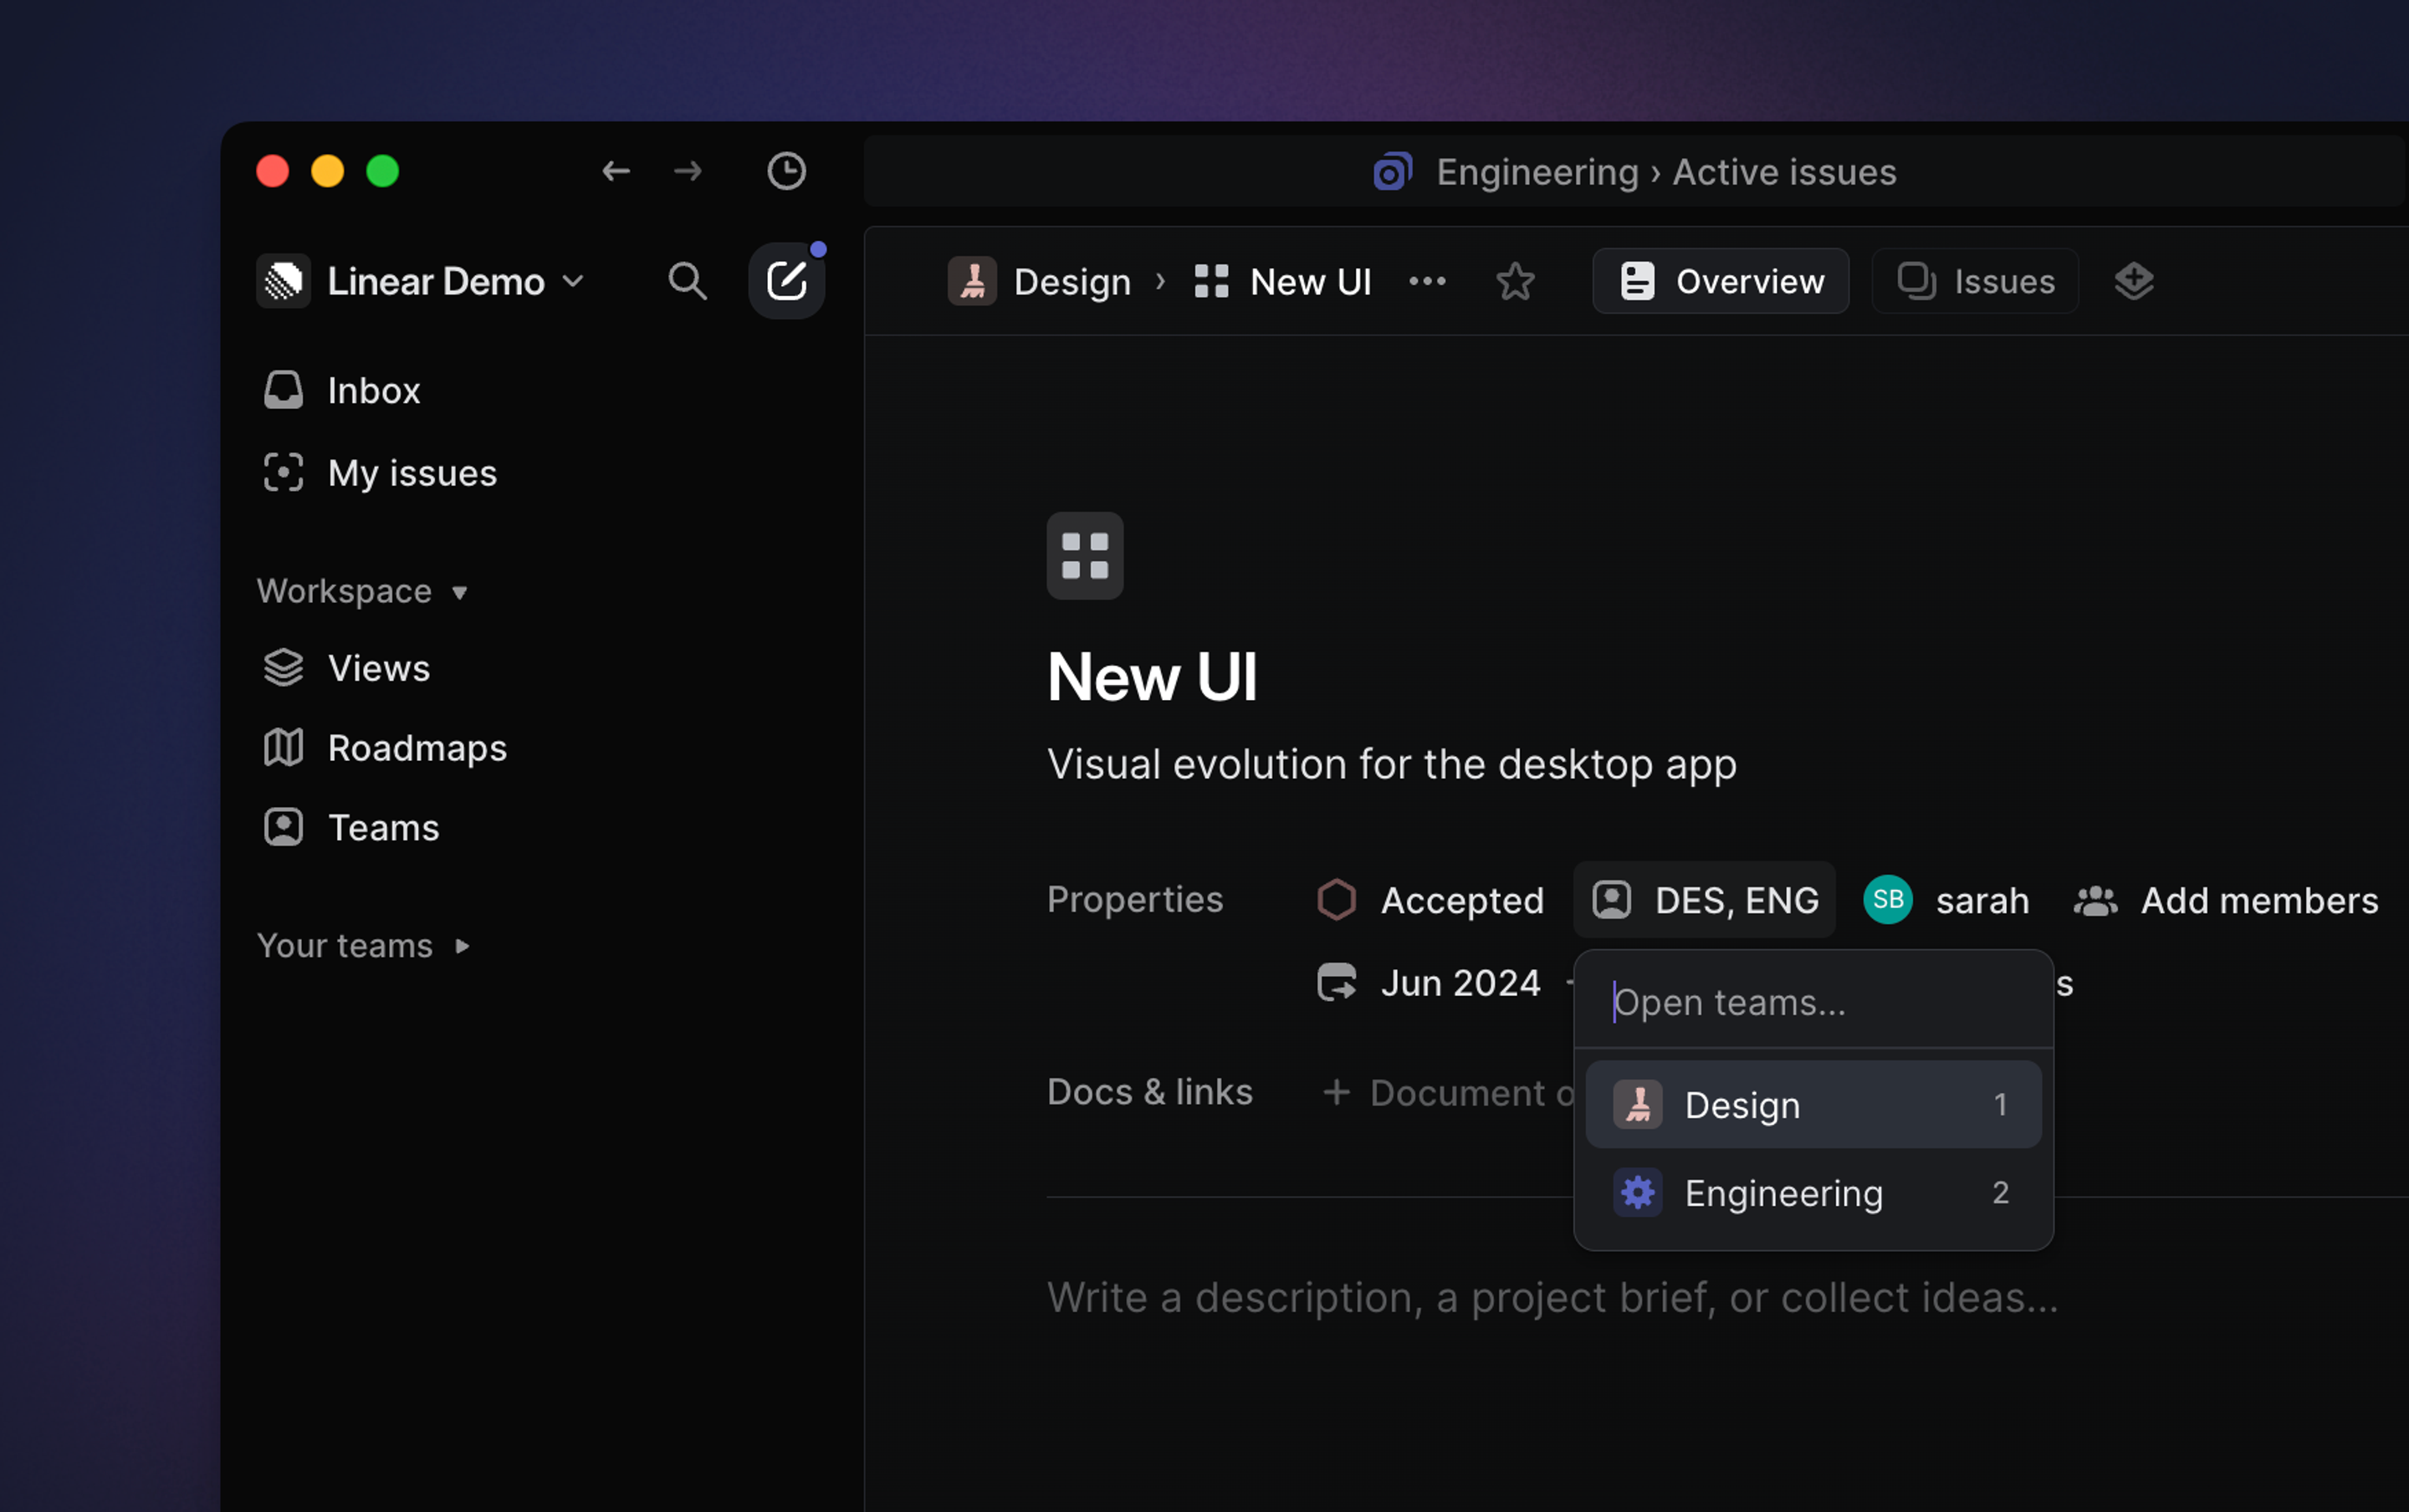
Projects can be shared across multiple teams. Add more teams when creating a project or from the project details page by clicking on the team name, then marking off more teams in the dropdown. Once you add more than one team, the project view will create tabs so you can toggle between seeing all issues or issues on specific teams.
Timeframes
Rarely will a project's precise end date be known in its early stages. Select start and target dates that match your level of certainty. Options are available to choose a year, half-year, quarter, month or precise day. Choose start and target dates using these timeframes by selecting the appropriate fields in the project's right sidebar.
You can also use these timeframes in project views in Initiatives when grouping by start or target date, or in start/target date filters as well as created at under the "custom date or timeframe…" option.