Project documents
Create documents for projects.
Overview
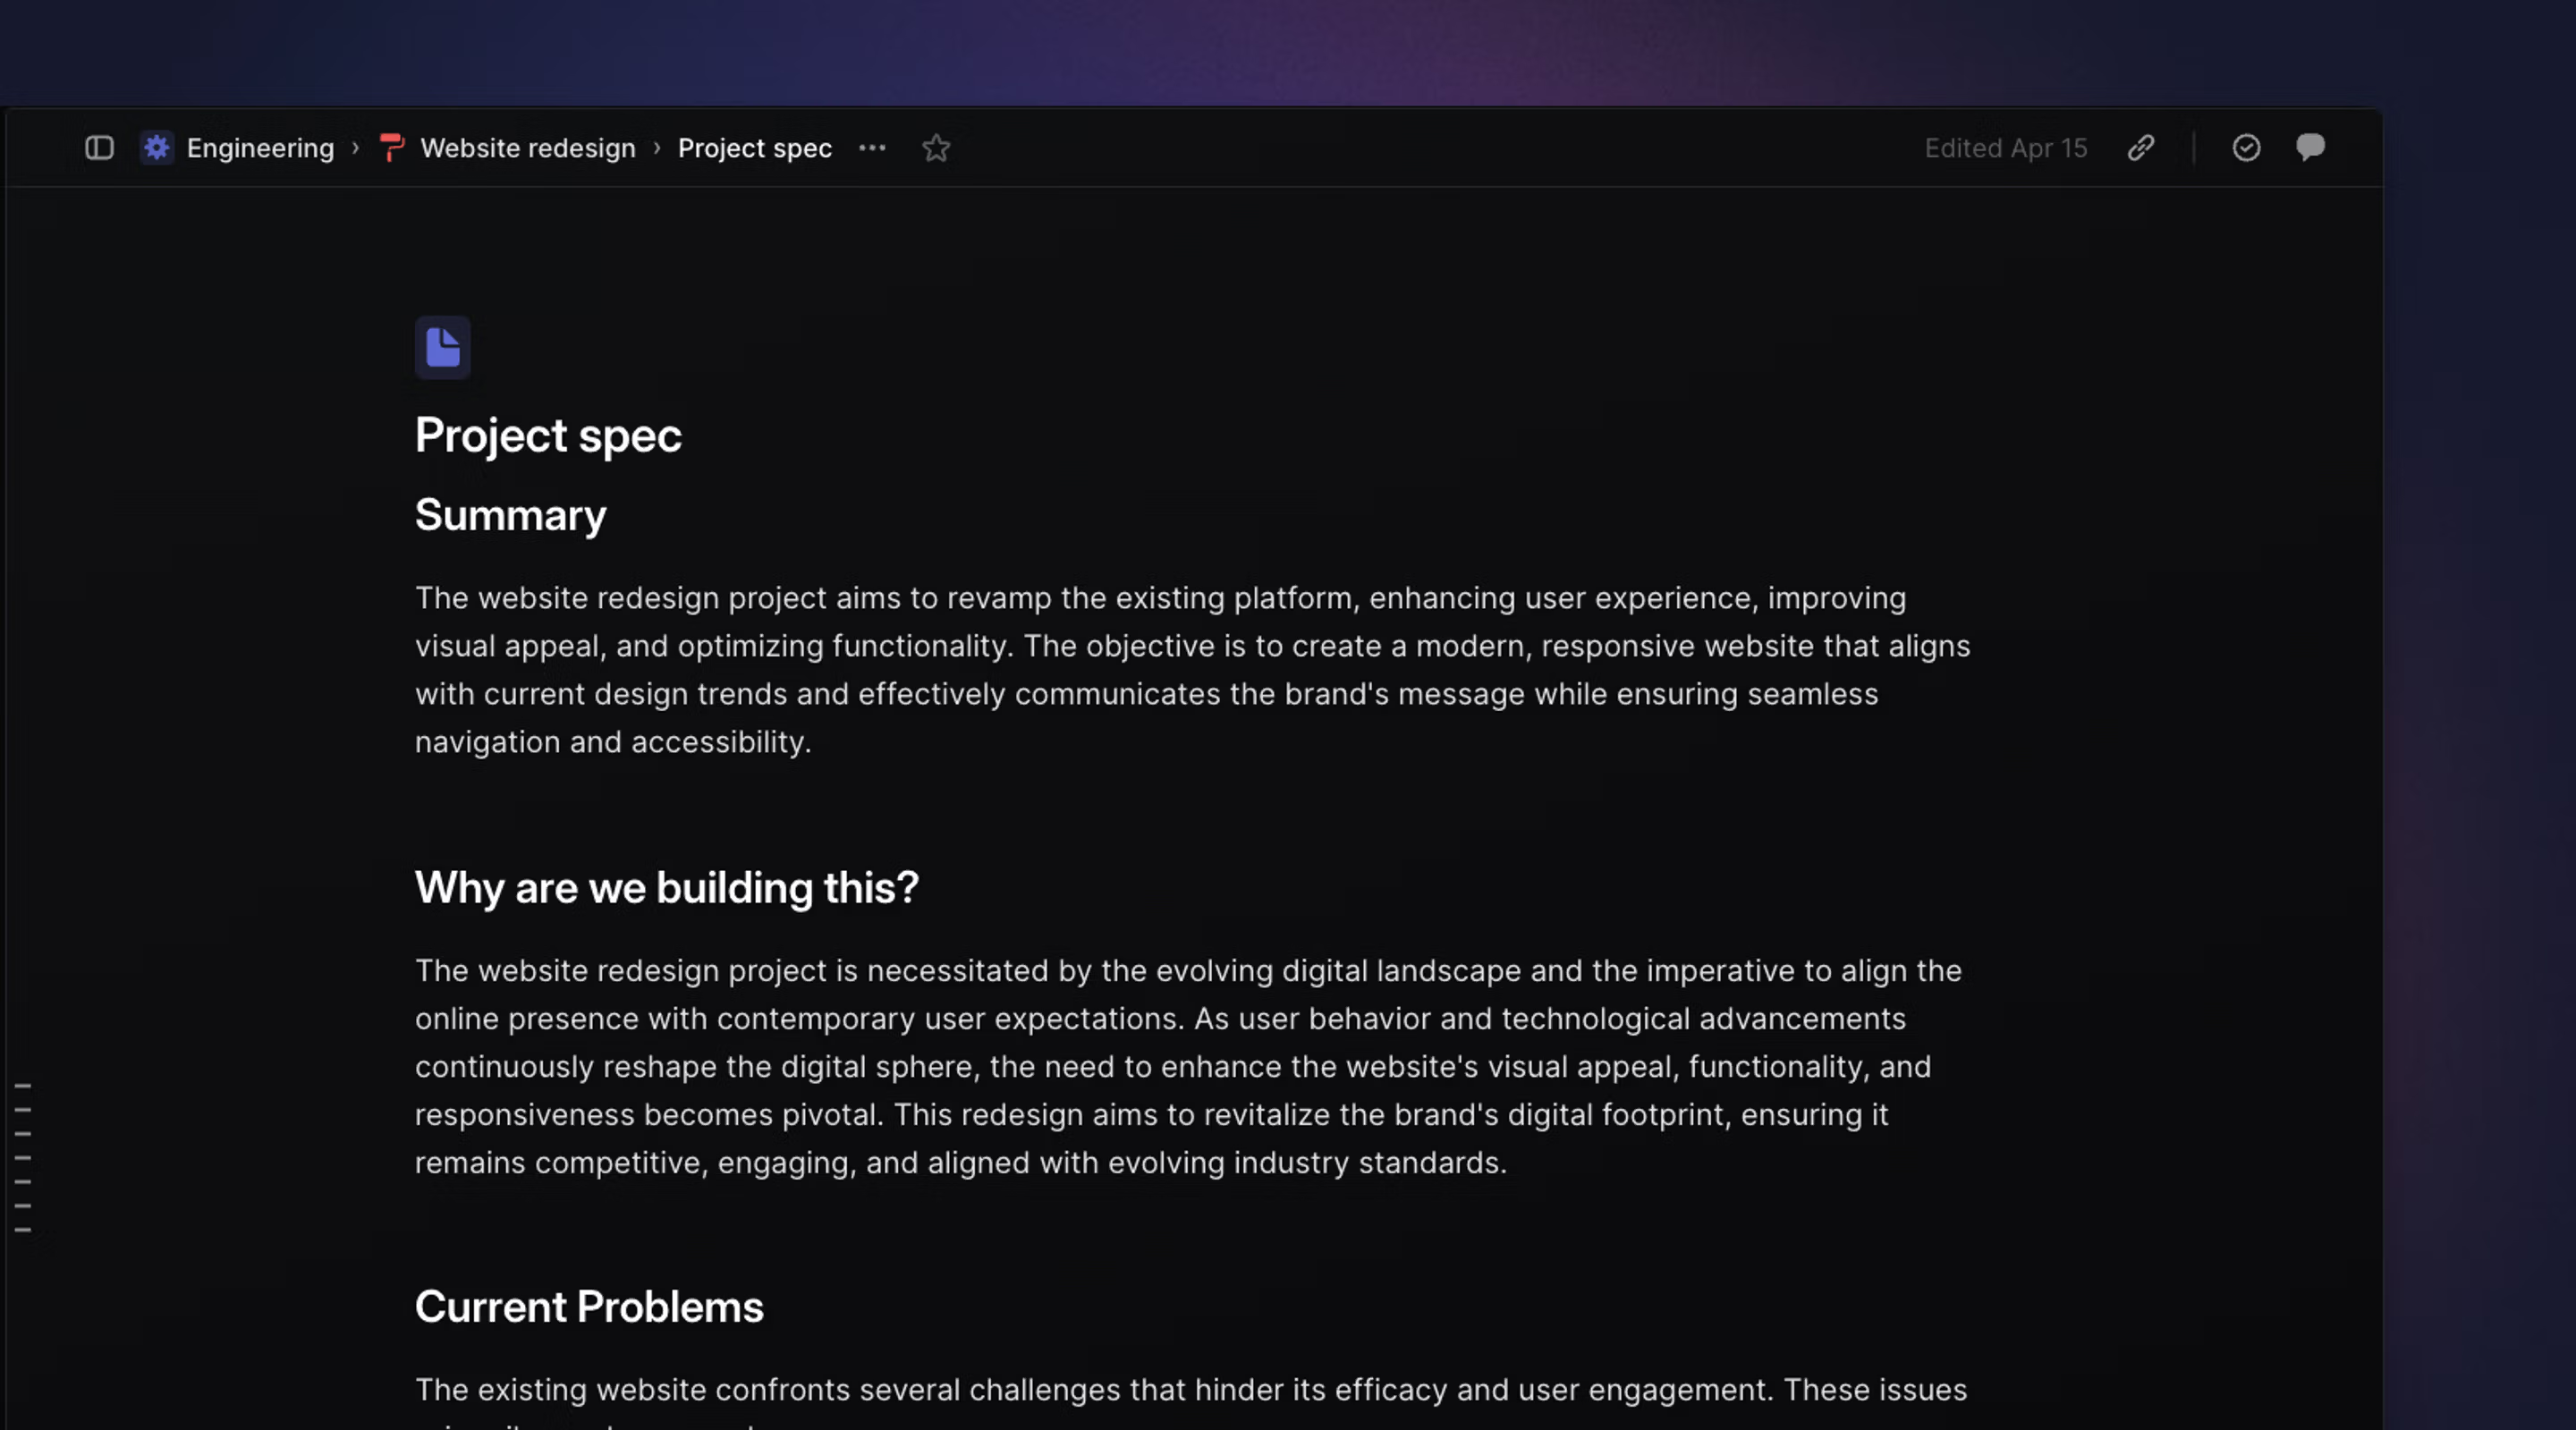
Create documents inside of projects to keep relevant information and updates in one central place. Use documents to create specs, PRDS, and share status updates with the project team.
Create documents
Create documents when inside of a project by navigating to the project overview and adding a document under the Resources section. You'll be required to give the document a title and can pick a custom icon and icon color.
Projects use the same Markdown editor as issues. In documents, you can type in plain text, use code snippets, format with headers and reference issues and projects. You can also create documents in issues themselves.
Create document templates
You can create document templates to write documents faster and guide creators to share information effectively. These templates can be selected when creating a new document inside a project or issue.
To create a document template, you can navigate to either the workspace template settings or team template settings. Once you've created the document template, press save to make the template available for your team and workspace members.
To edit, duplicate or delete a template, go to the same page where you created the templates and then hover over the template name in order to show contextual controls. Click on the overflow menu and take the desired action.
Document subscriptions
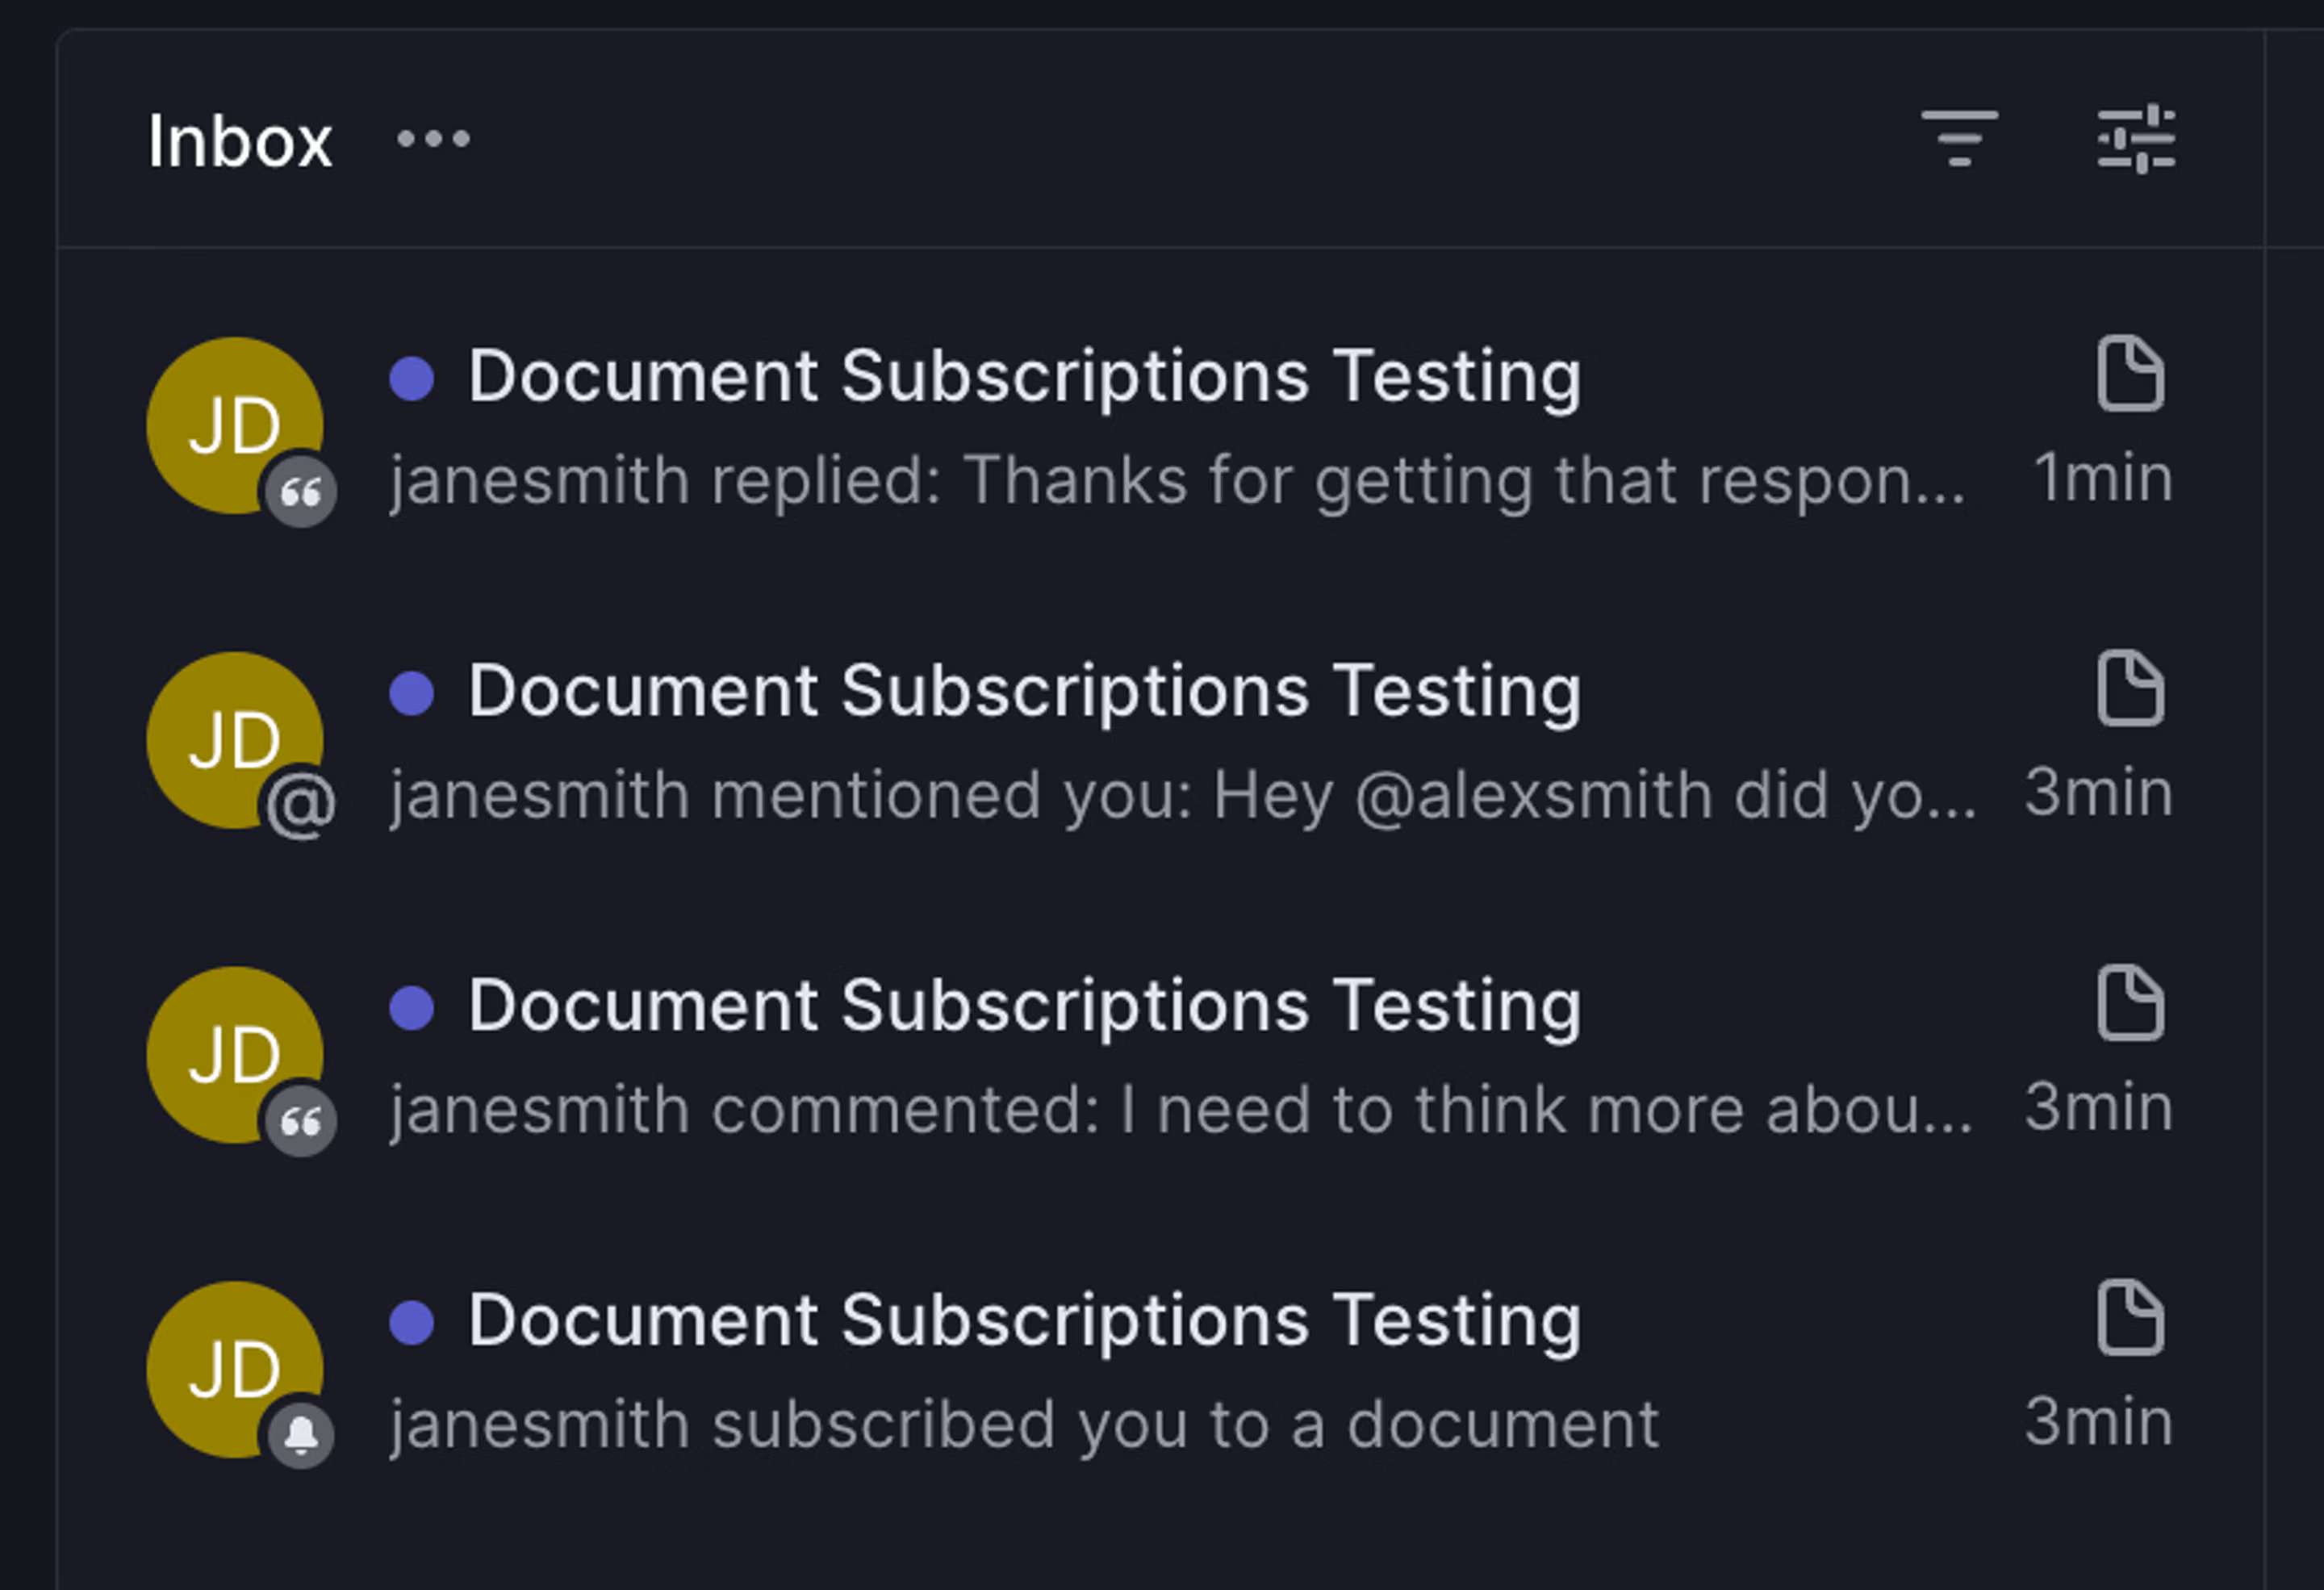
You can subscribe to notifications for specific documents by clicking on the bell icon in the upper right of the document and selecting yourself or another team member to notification.
This will also subscribe you to notifications in the description section of a project overview.
The creator of a document will be automatically subscribed to the changes in the document.

Notification types include document changes, comments, and replies. You do not get a notifications for actions you have taken on a document, but you will receive notifications for when
- A comment or reply has been made in a document.
- Material changes to the content of a document.
- A document was deleted.
- A team member subscribes or unsubscribes you to a document.
- A team member mentions you in a document
- A team member mentions you in a comment
Inline comments
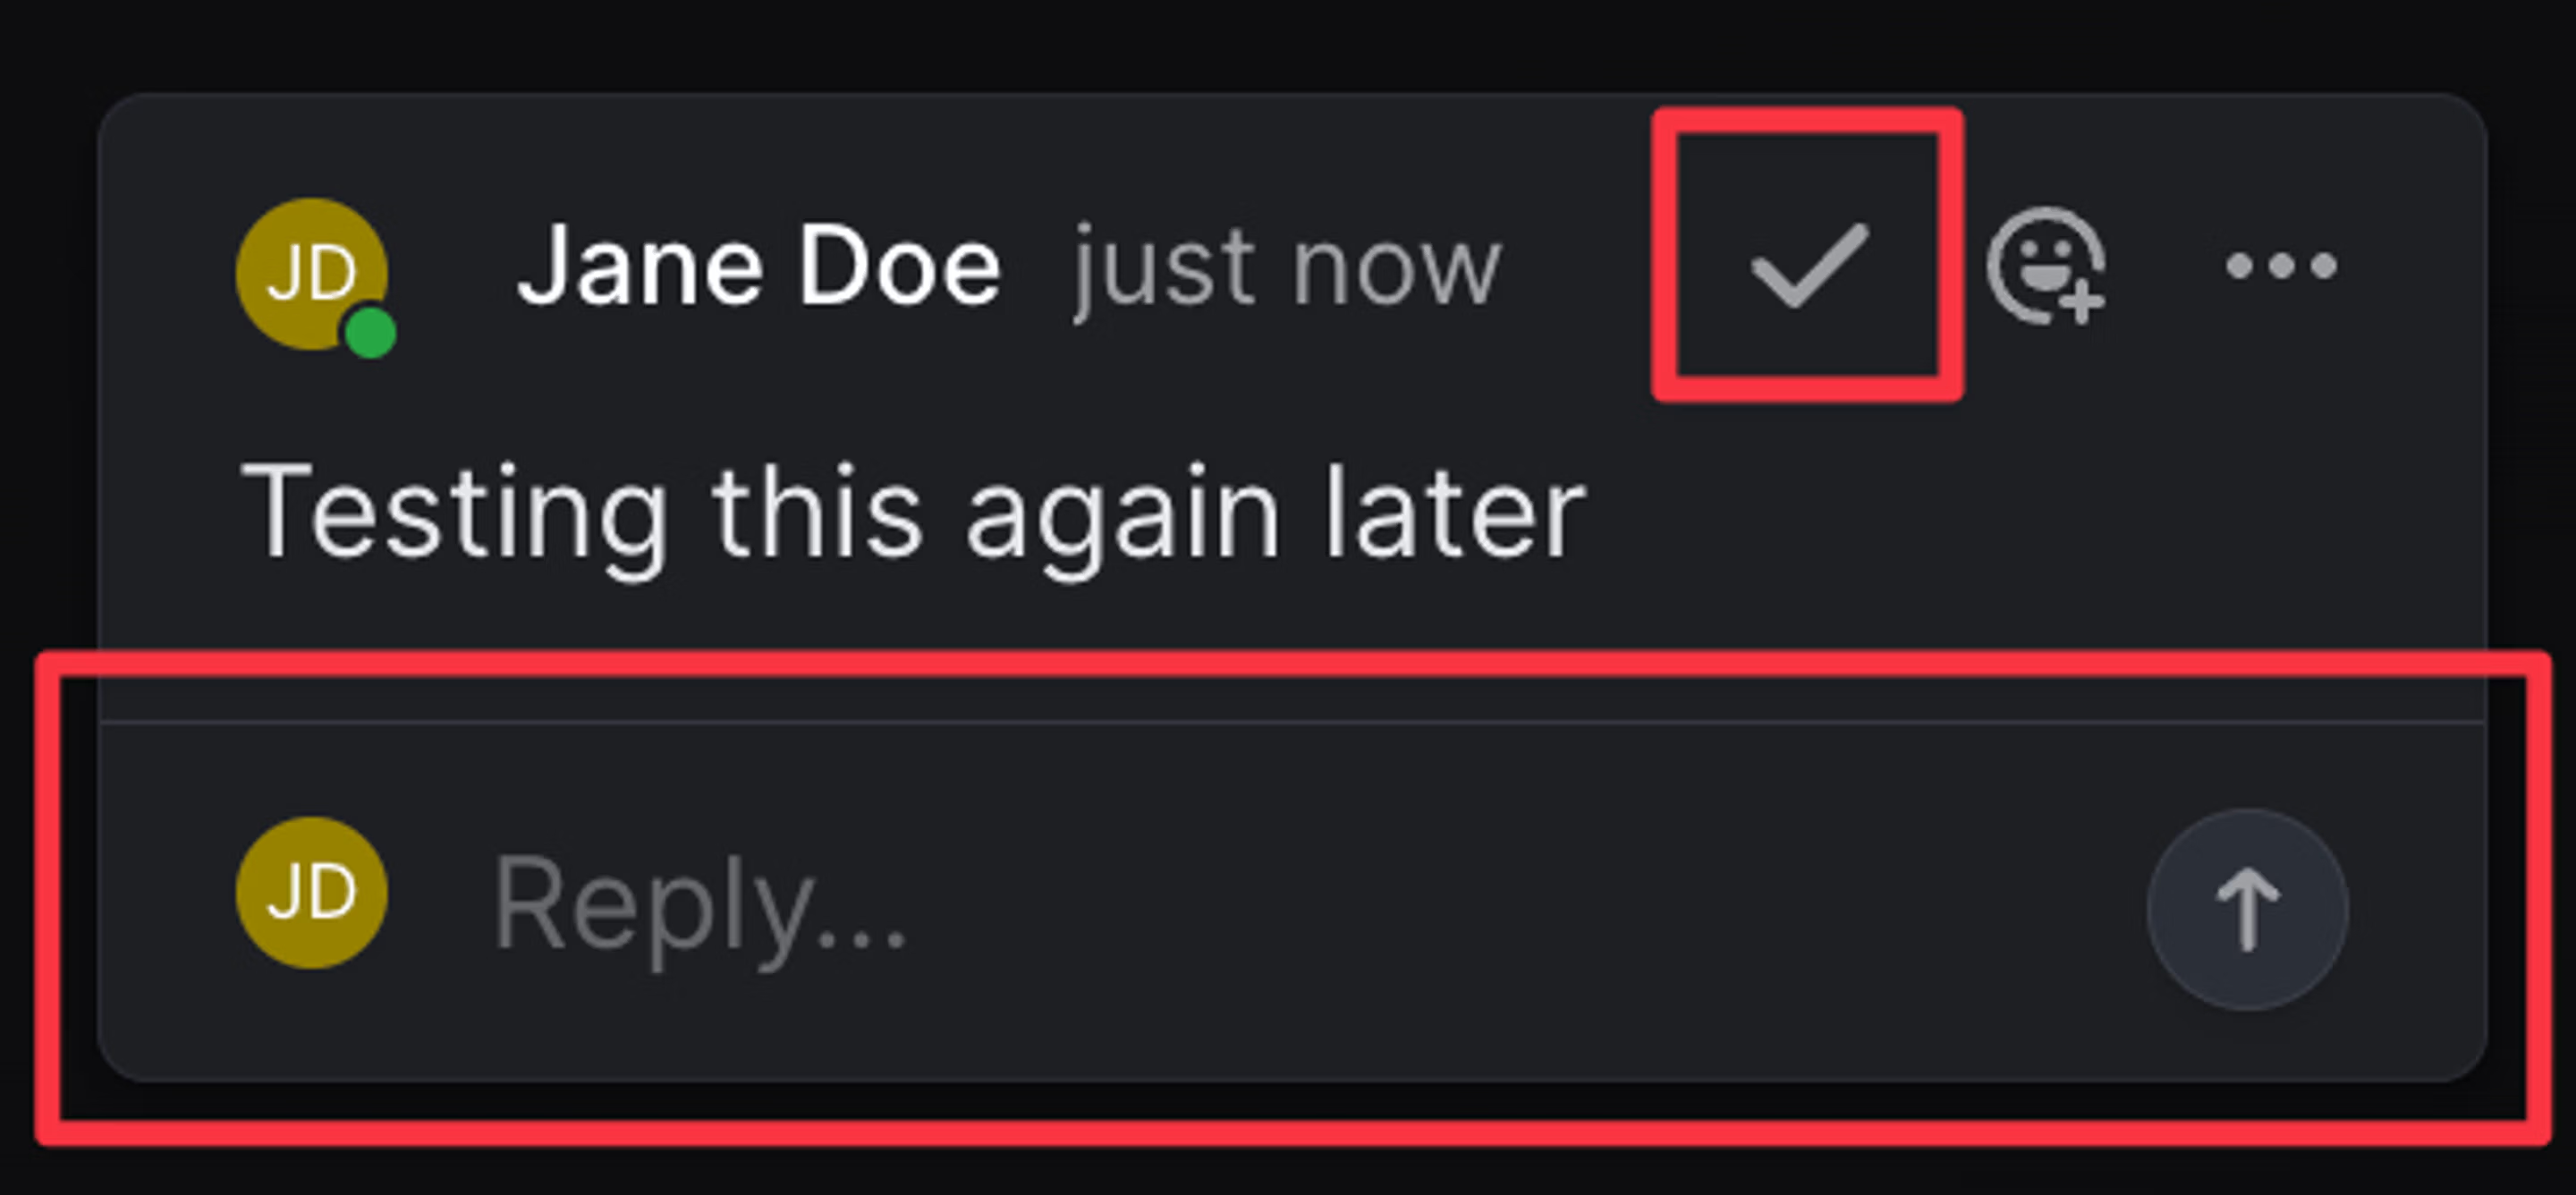
Select text and press the comment button, or use Cmd Opt M to leave a comment. Subscribed or mentioned members will receive notifications about comments and replies.
Reply to comments, or resolve them with a single click.
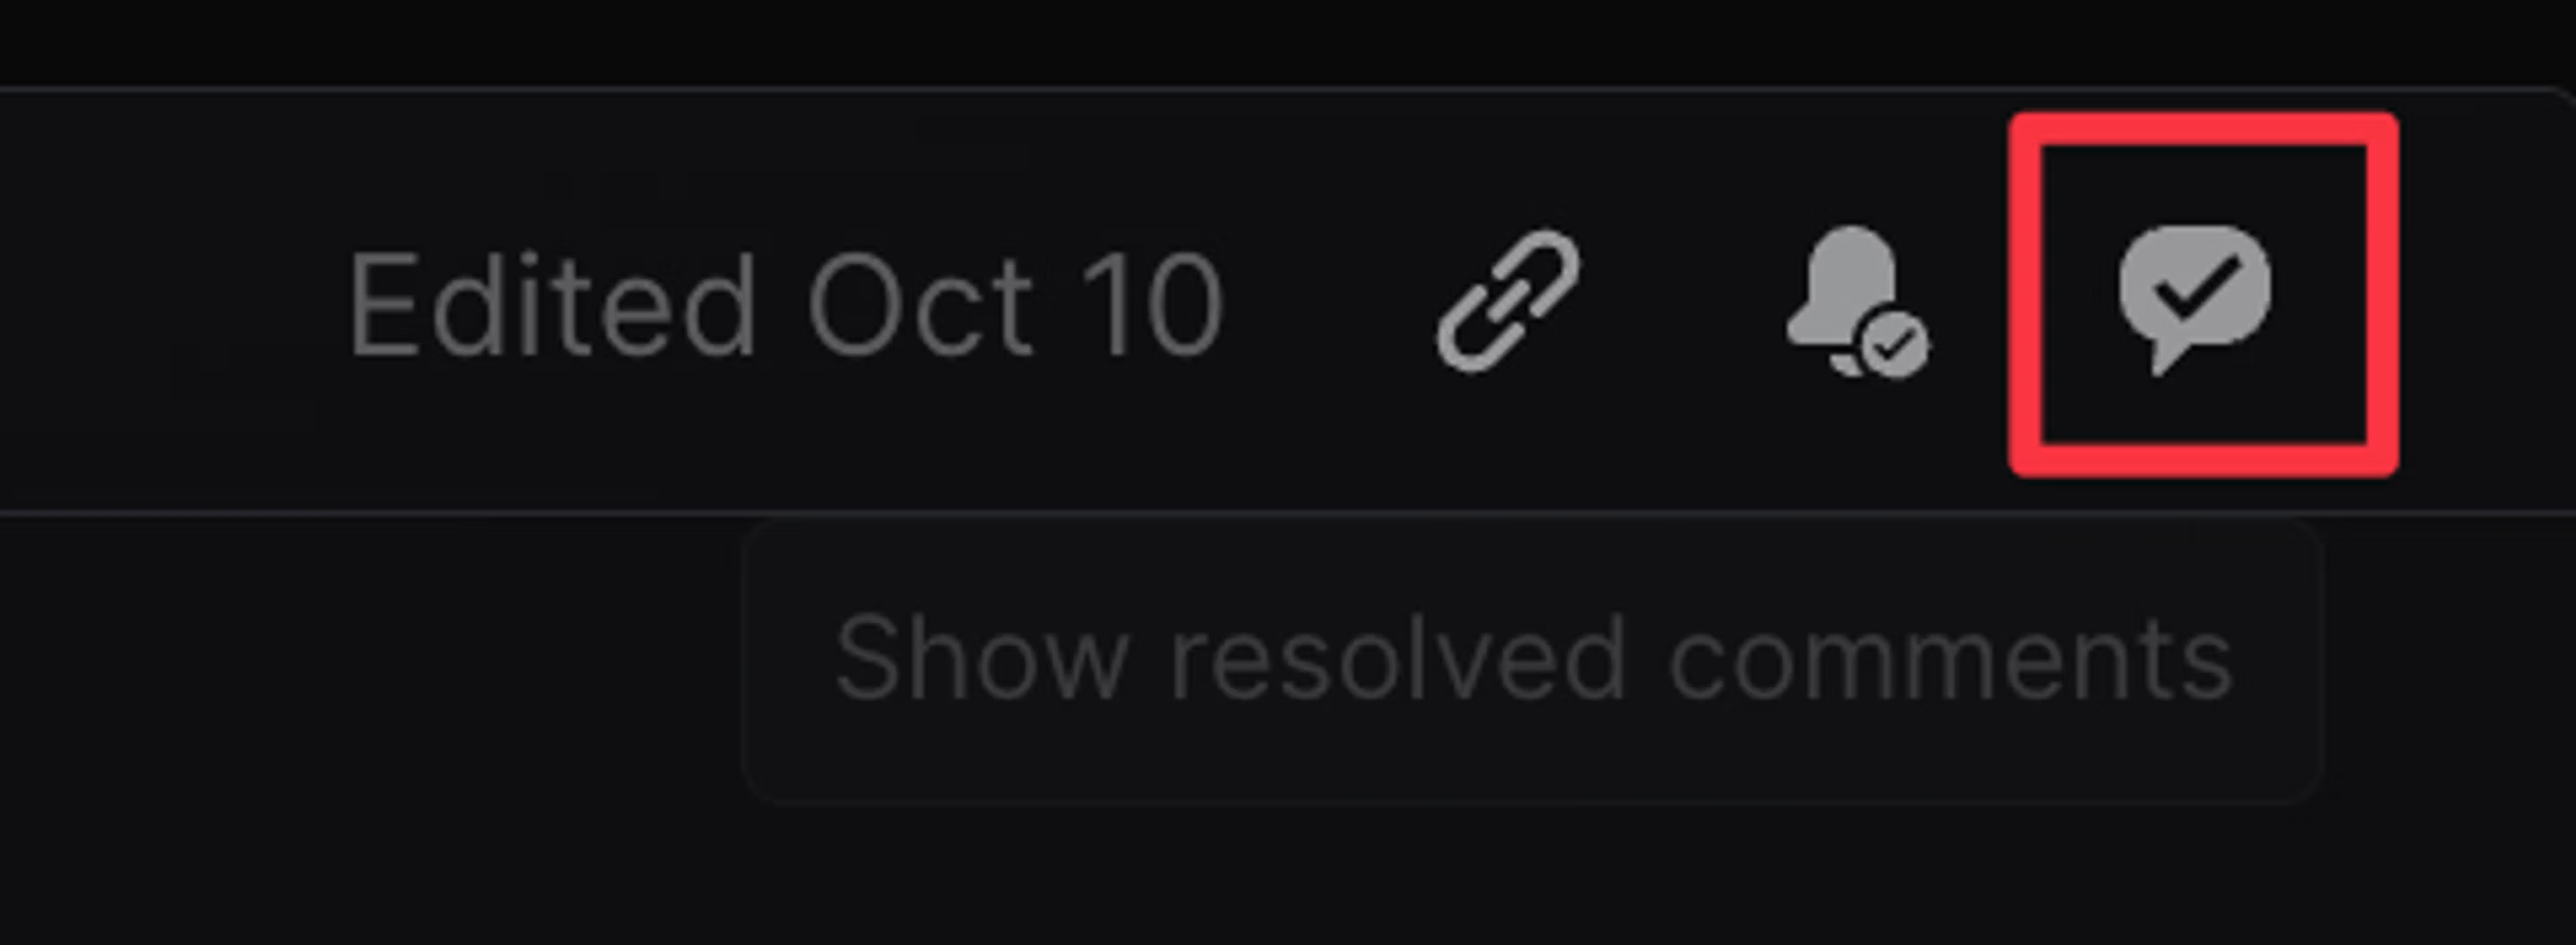
The full comment history of a document is available in the chat bubble icon in the upper right.
Collaborative editing
Edit documents by opening them and clicking anywhere in the editor to begin editing. We'll show when the document was last edited and by whom. Linear offers collaborative editing, so you'll see input cursors if another user is editing or viewing the text. All changes are instantly saved and synced to everyone in realtime. You can revert documents to a previous version in the … menu at the top and choosing "Revert document content".
Editor slash commands
Type / to see additional formatting options in documents (and issues.) Using this menu you can create formatting types including:
- Headers (H1, H2, H3)
- Lists (bulleted, numbered, checklists)
- Codeblocks
- Dividers
- Blockquotes
Open documents
While in a project view, you can open documents with the shortcut O then D or by selecting the relevant document from the Overview tab on a specific project.
Reference documents
Reference documents in issue descriptions, comments, and even in other documents by typing @ while in edit mode followed by the document name. This action can also be used to reference issues or projects; matching documents will appear in the lowest section.
Link to headers
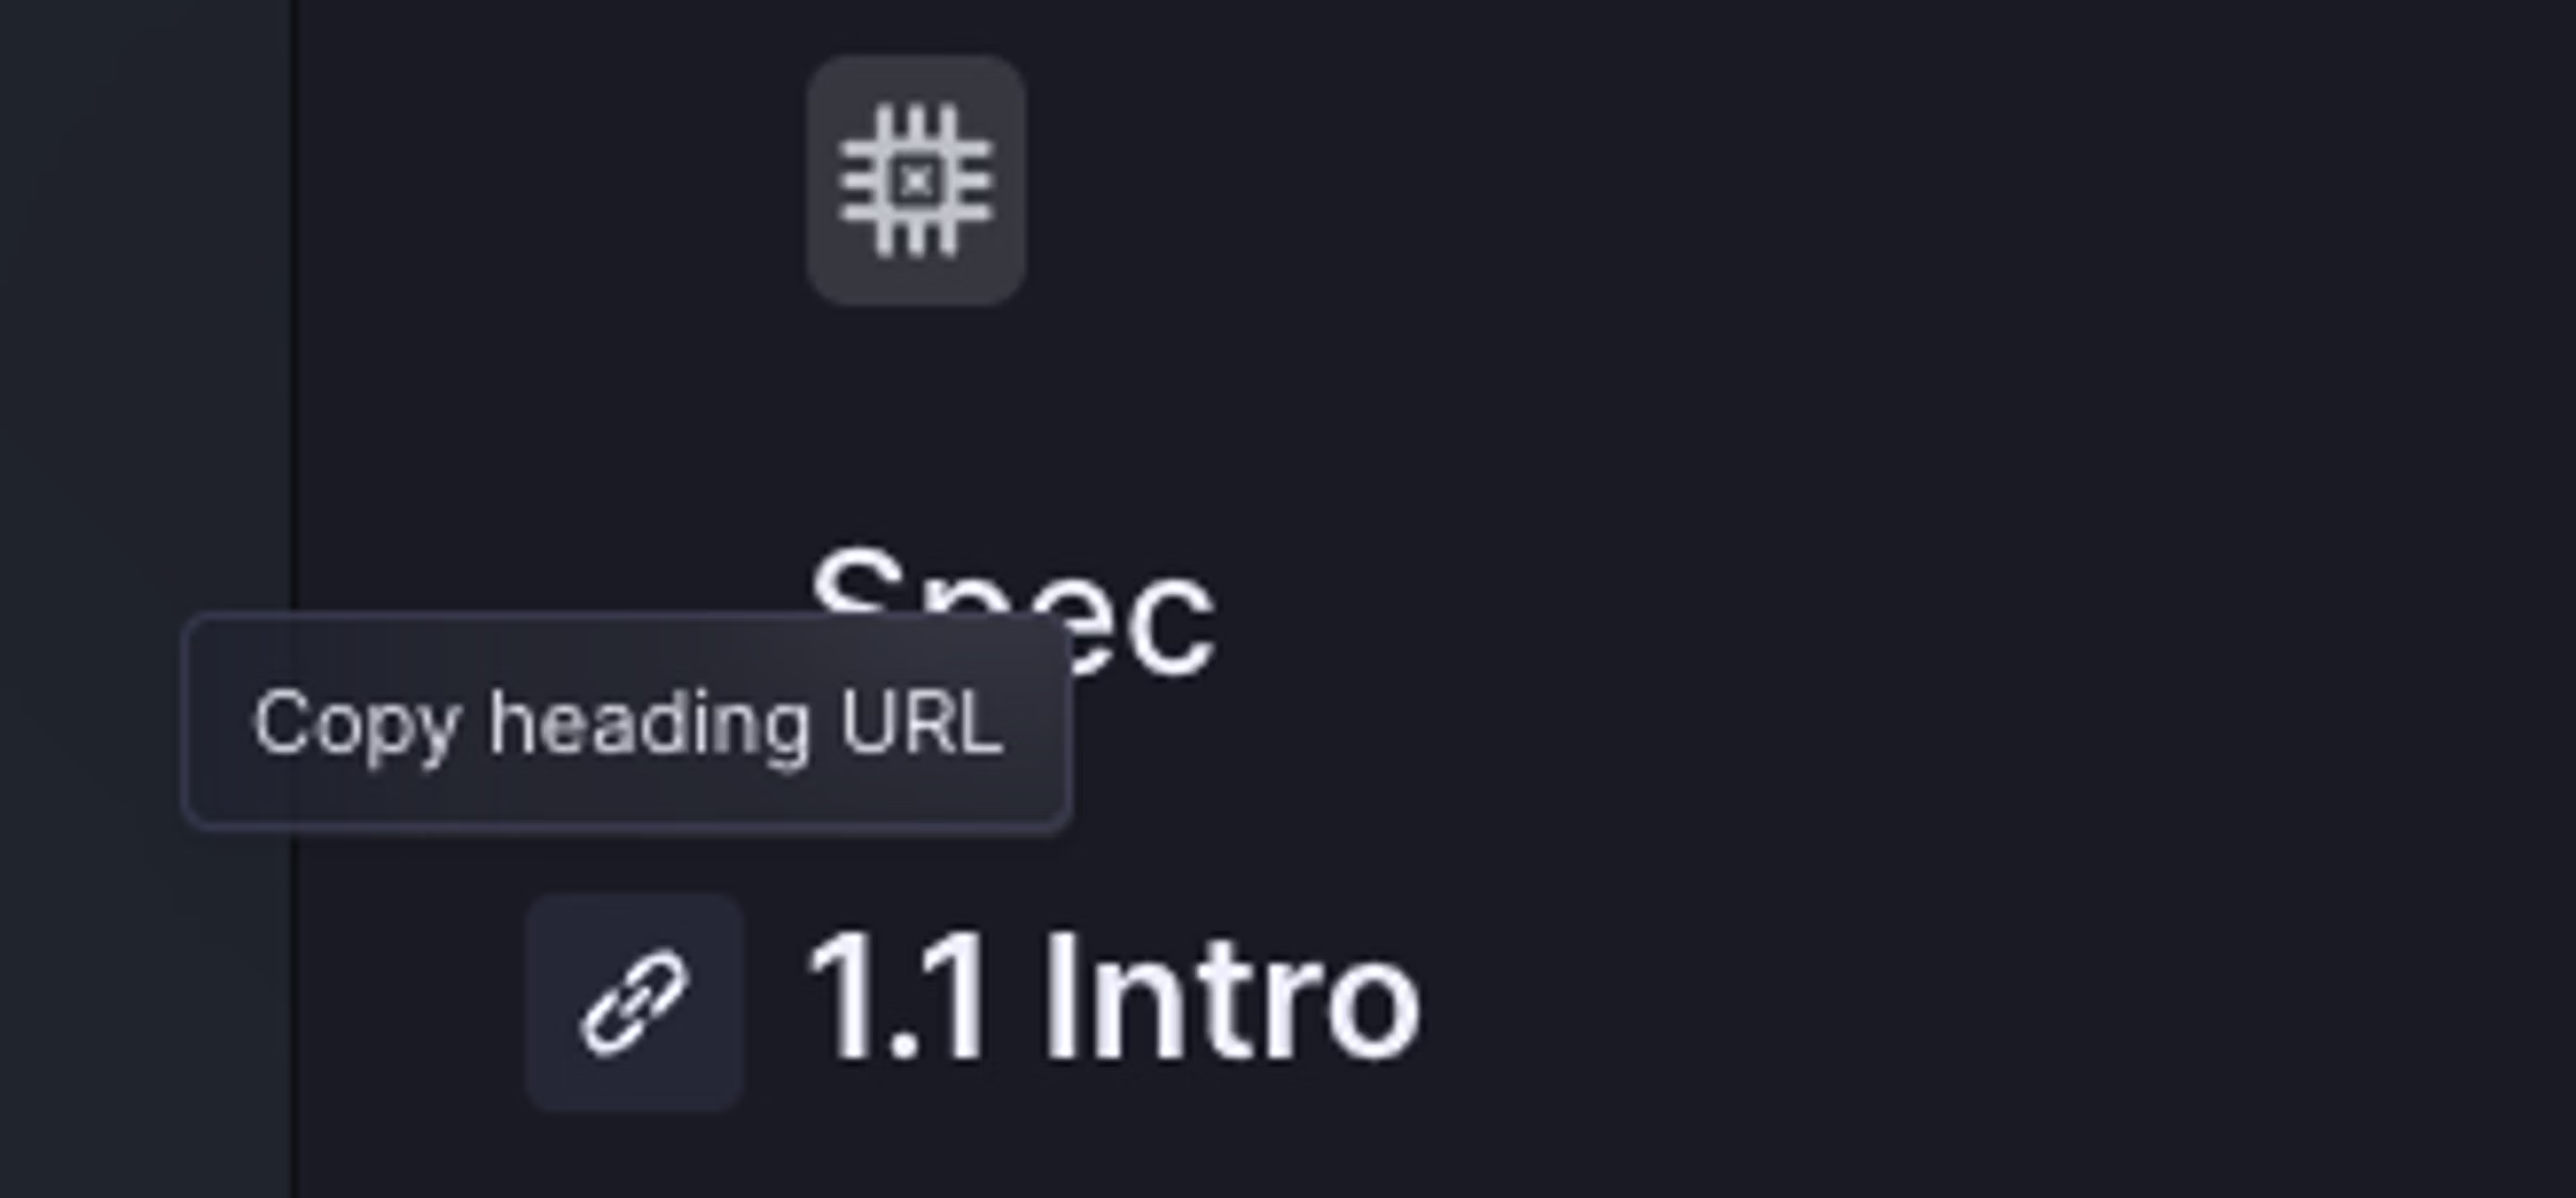
To copy a URL to a specific header, hover over the left side and click Copy heading URL. Sharing this URL with a colleague in your workspace will direct them to this specific section.
External URLs
If you'd like to link related files that live outside of Linear, you can add a link to the Resources section of a Project overview.