Webhooks
Linear provides webhooks which allow you to receive HTTP push notifications whenever data is created, updated or removed. This allows you to build integrations that respond to changes in real time, such as triggering CI builds, updating external systems, or sending messages based on issue activity.
You can use the Webhooks schema explorer to look up the object types used in webhook payloads.
Webhooks are specific to an Organization, but you can configure webhooks to provide updates from all public teams, or a single team to satisfy the needs of each team in your organization.
Please visit your application’s settings to configure webhooks.
Additionally, OAuth applications can configure webhook settings. Once those settings are configured, each time a new organization authorizes the given application, a webhook will be created for that organization that posts to the provided webhook URL, as described below. If your application is de-authorized from an organization the OAuthApp revoked event will be sent.
Only workspace admins, or OAuth applications with the admin scope, can create or read webhooks.
What we call “data change webhooks” are currently supported for the following models:
IssuesIssue attachments- DocumentationIssue commentsIssue labelsComment reactionsProjectsProject updatesDocumentsInitiativesInitiative UpdatesCyclesCustomersCustomer RequestsUsers
Other webhooks are provided for convenience:
Issue SLA- DocumentationOAuthApp revoked- Documentation
How does a Webhook work?
A webhook push is an HTTP POST request, sent to the URL of your choosing. The push is automatically triggered by Linear when data updates. For an example of what data a payload contains, see Webhook Payload.
Your webhook consumer is a simple HTTP endpoint. It must satisfy the following conditions:
- It’s available in a publicly accessible HTTPS, non-localhost URL
- It will respond to the Linear Webhook push (HTTP POST request) with a
HTTP 200(“OK”) response
If a delivery fails (i.e. server unavailable, takes longer than 5 seconds (5000ms) to respond, or responds with a non-200 HTTP status code), the push will be retried a maximum of 3 times. A backoff delay is used: the attempt will be retried after 1 minute, 1 hour, and finally after 6 hours. If the webhook URL continues to be unresponsive the webhook might be disabled by Linear, and must be re-enabled again manually.
To ensure a Webhook POST is truly created by Linear, you should follow the steps in Securing Webhooks, below.
For additional information on Webhooks, there are a number of good resources:
- RequestBin: Webhooks – The Definitive Guide
- requestbin.com is a great tool for testing webhooks
- GitHub Developer Guide: Webhooks
Getting started with Linear Webhooks
You will first need to create a Webhook endpoint (“consumer”) to be called by the Linear Webhook agent. This can be a simple HTTP server you deploy yourself, or a URL endpoint configured by a service such as Zapier (or for testing purposes, RequestBin).
Once your consumer is ready to receive updates, you can enable it for your Linear team. You can configure webhooks in Linear from API settings.
Creating a simple Webhook consumer
You might consider using something like Netlify Functions, Vercel Functions, or Cloudflare Workers, which provide a straightforward way of deploying simple HTTP(S) endpoints.
Deploying a simple webhook consumer on Netlify might look something like this. Netlify has also created a template to deploy a webhook.
const { createHmac } = require('node:crypto');

export default async (request) => {
  const payload = await request.text();
  const { action, data, type, createdAt } = JSON.parse(payload);

  // Verify signature
  const signature = createHmac("sha256", Netlify.env.get('WEBHOOK_SECRET')).update(payload).digest("hex");
  if (signature !== request.headers.get('linear-signature')) {
    return new Response(null, { status: 400 })
  }

  // Do something neat with the data received!

  // Finally, respond with a HTTP 200 to signal all good
  return new Response(null, { status: 200 })
}

export const config = {
  path: "/my-linear-webhook"
};
Create webhook using settings
The easiest way to configure a Webhook is via API Settings. Open Settings and find “API”.
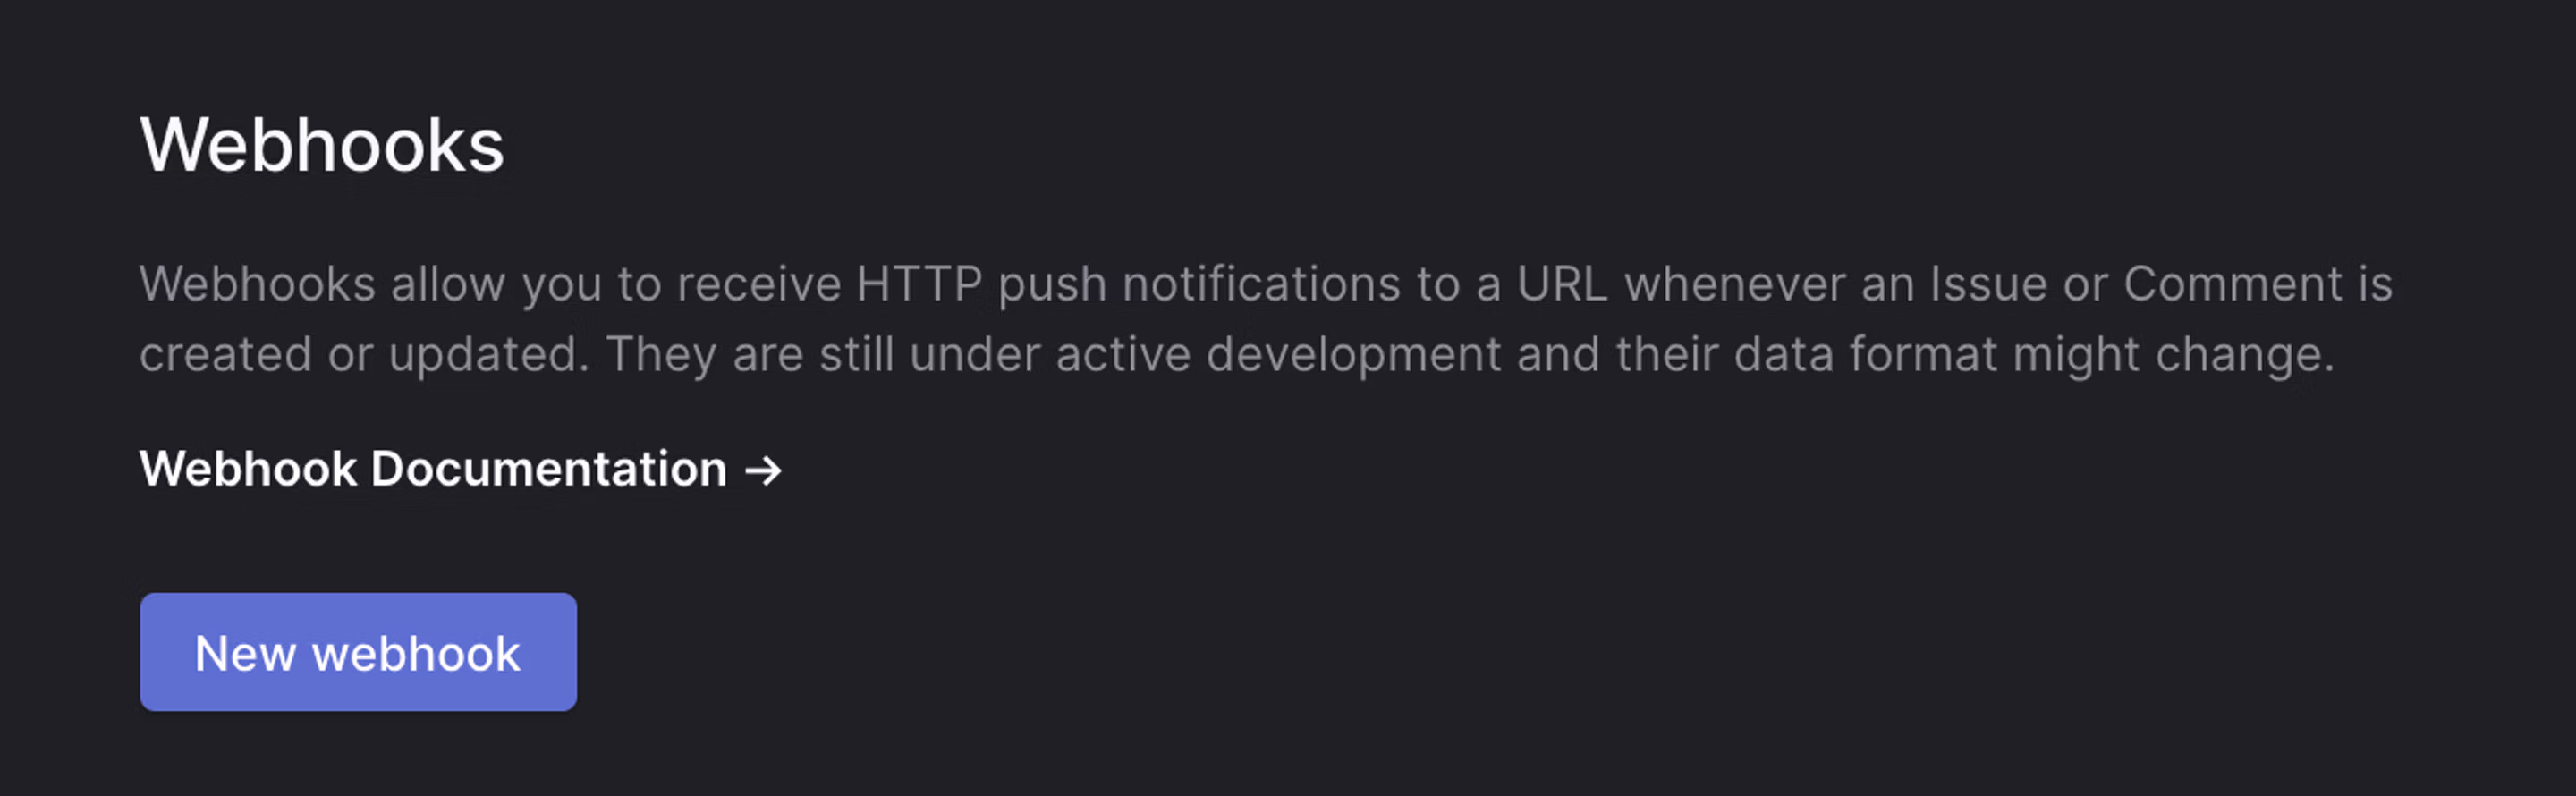
Click on “New webhook”, and specify the URL in which you have an endpoint ready to receive HTTP POST requests. Label is used to identify webhooks and describe their purpose.
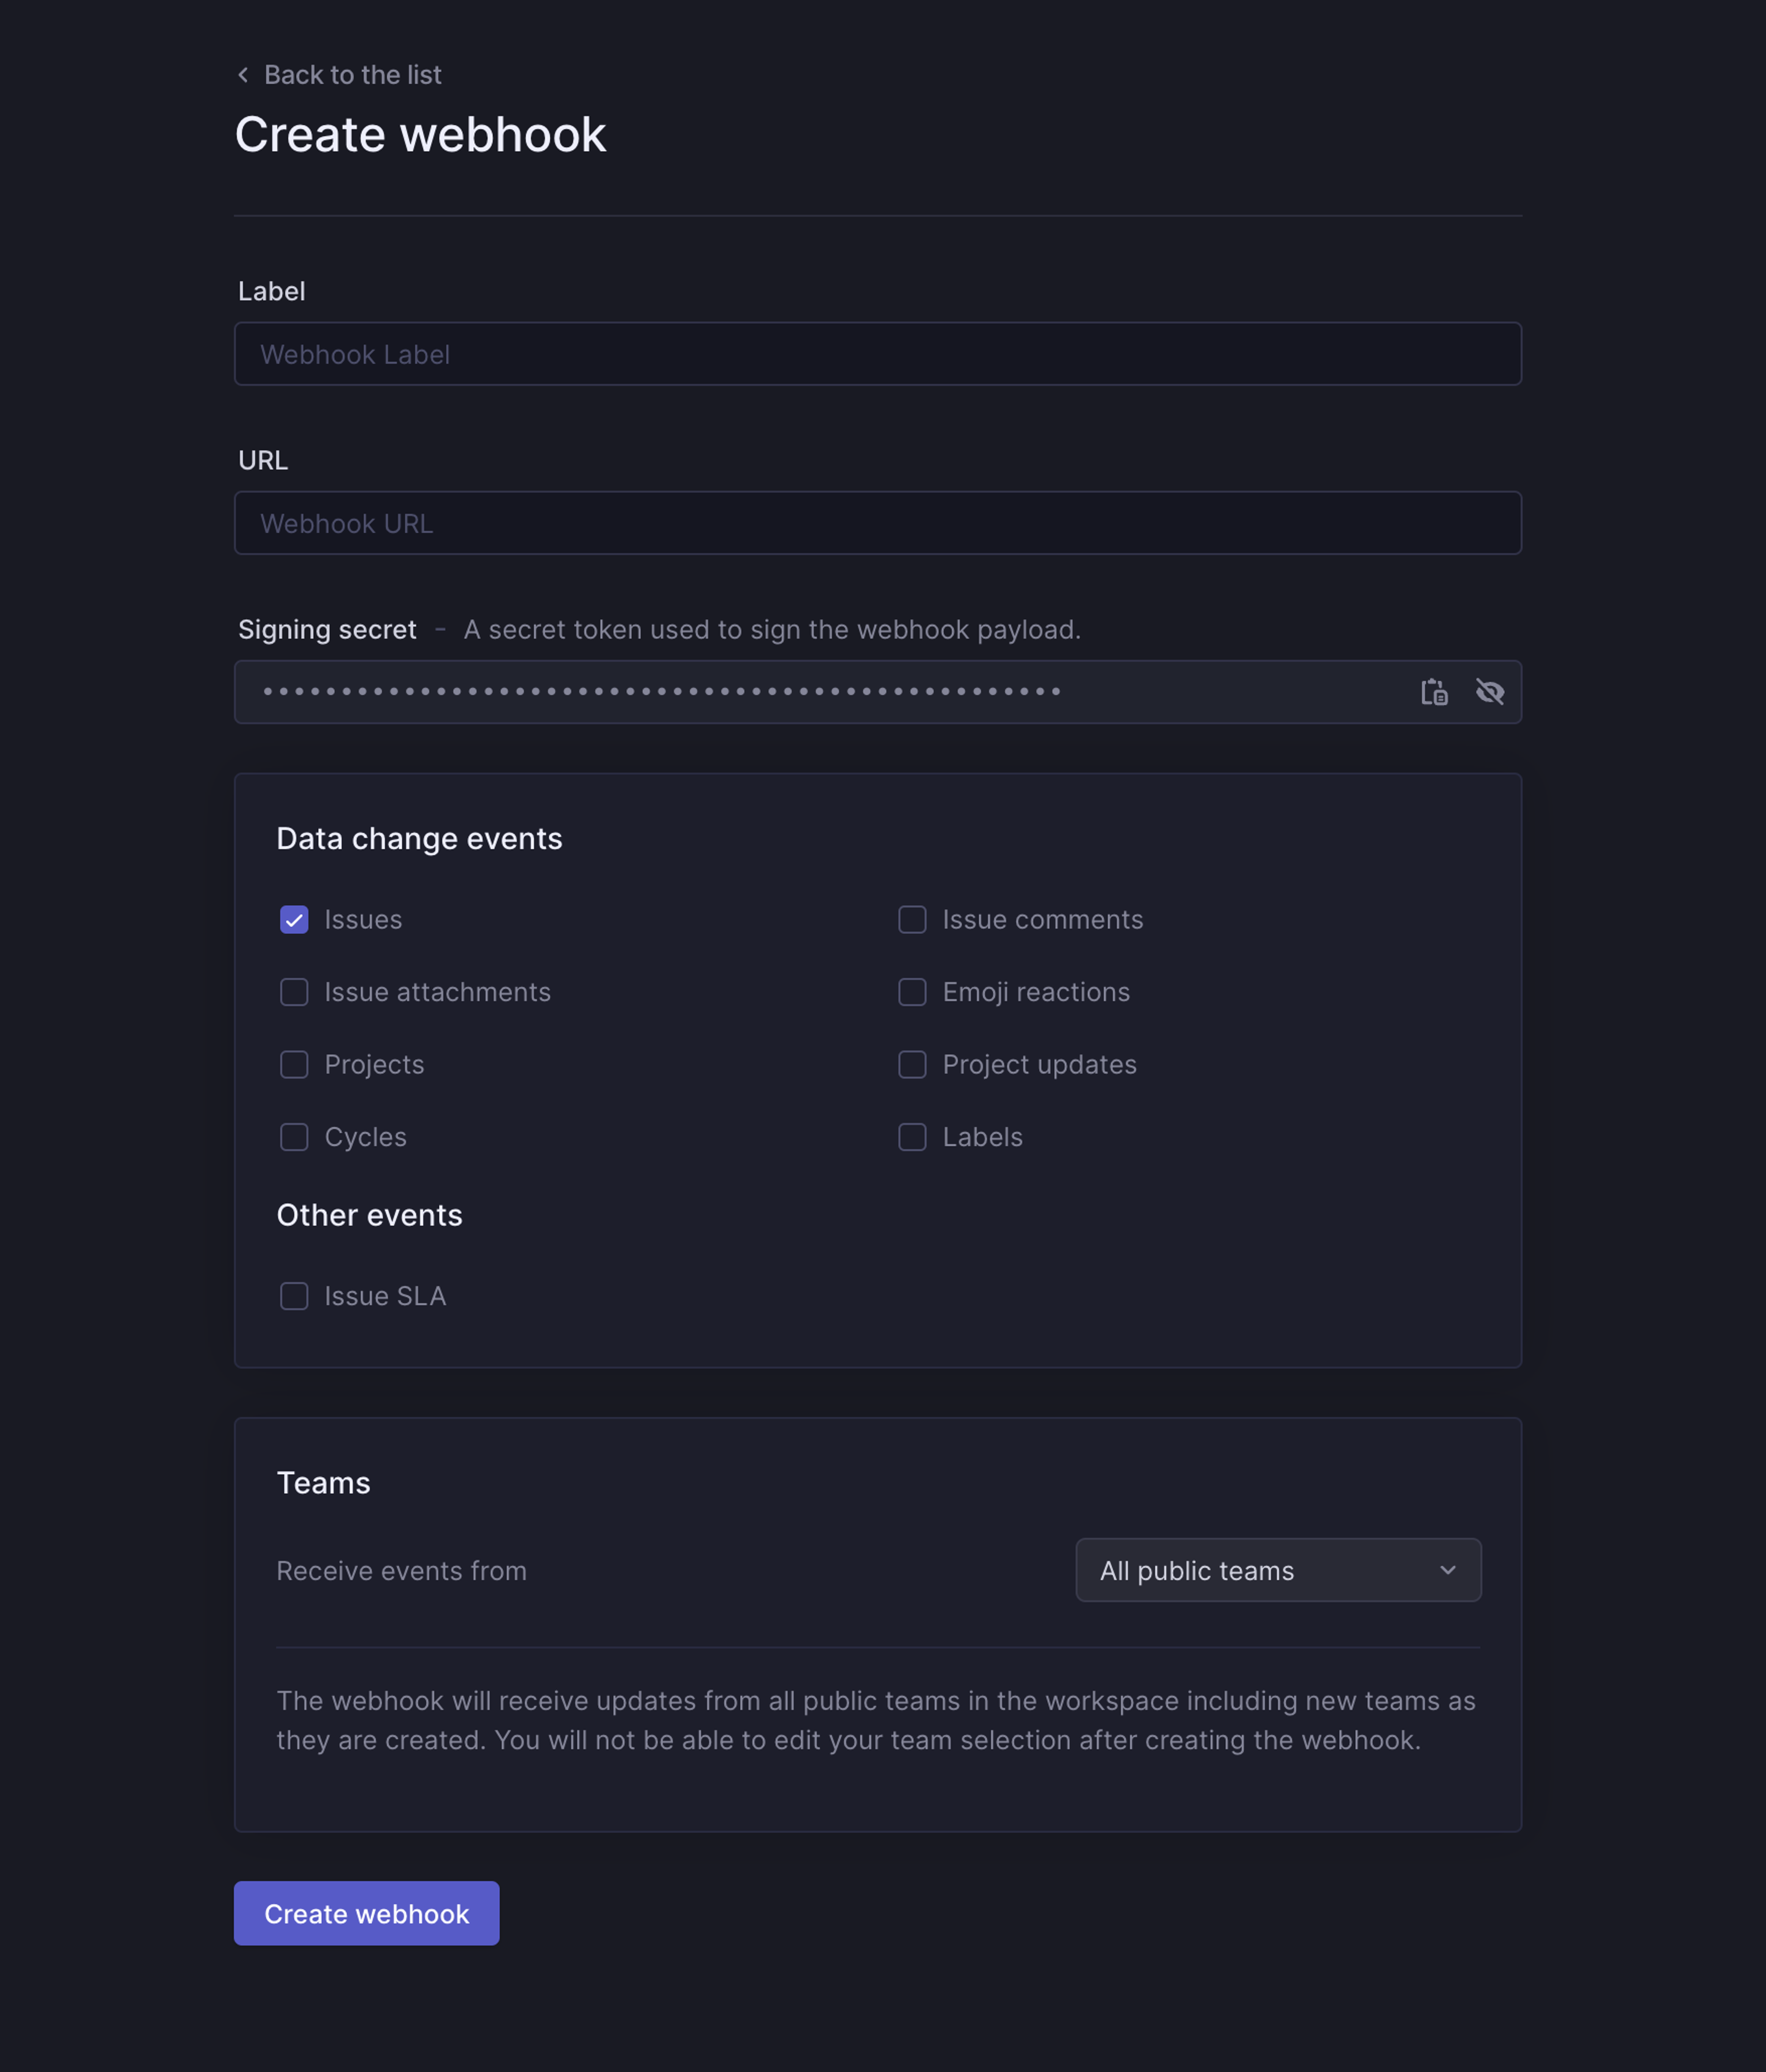
Create webhook using API
To create a new webhook via the API, call the webhookCreate mutation with the teamId (or allPublicTeams: true) and url of your webhook, and the preferred resourceTypes ([Comment, Issue, IssueLabel, Project, Cycle, Reaction]):
mutation {
  webhookCreate(
    input: {
      url: "https://example.com/webhooks/linear-consumer"
      teamId: "72b2a2dc-6f4f-4423-9d34-24b5bd10634a"
      resourceTypes: ["Issue"]
    }
  ) {
    success
    webhook {
      id
      enabled
    }
  }
}
The server responds with a success flag and the ID of the newly created webhook:
{
  "data": {
    "webhookCreate": {
      "success": true,
      "webhook": {
        "id": "790ce3f6-ea44-473d-bbd9-f3c73dc745a9",
        "enabled": true
      }
    }
  }
}
That’s it! Your webhook is now ready to use and enabled by default. You can try it out e.g. by commenting on an Issue on your team, or maybe creating a new Issue.
Querying existing webhooks
Your webhooks belong to an Organization. You can either query all webhooks in your organization, or find them via their respective teams.
Querying all webhooks in your organization (the results are paginated, so you will need to include the nodes property.):
query {
  webhooks {
    nodes {
      id
      url
      enabled
      team {
        id
        name
      }
    }
  }
}
Querying webhooks via their associated teams:
query {
  teams {
    nodes {
      webhooks {
        nodes {
          id
          url
          enabled
          creator {
            name
          }
        }
      }
    }
  }
}
Deleting a webhook
Deleting a webhook is done with the webhookDelete mutation, by supplying the id of the webhook in question:
mutation {
  webhookDelete(
    id: "1087f03a-180a-4c31-b7dc-03dbe761ff59"
  ) {
    success
  }
}
Webhook Payload
The webhook HTTP payload will include information both in its HTTP headers and its request body.
The format of the payload body reflects that of the corresponding GraphQL entity. You can view the payload structures in our Webhooks schema explorer.
The payload will be sent with the following HTTP headers:
Accept-Charset: utf-8
Content-Type: application/json; charset=utf-8
Linear-Delivery: 234d1a4e-b617-4388-90fe-adc3633d6b72
Linear-Event: Issue
Linear-Signature: 766e1d90a96e2f5ecec342a99c5552999dd95d49250171b902d703fd674f5086
Linear-Timestamp: 1676056940508
User-Agent: Linear-Webhook
Where the custom headers include:
HTTP Header | Description |
|---|---|
| A UUID (v4) that uniquely identifies this payload |
| The Entity type which triggered this event: |
| HMAC signature of the webhook payload. |
| The Unix timestamp, in milliseconds, when the webhook was sent. |
Data change events payload
These fields are present on all data change events.
Field | Description |
|---|---|
| The type of the action that took place: |
| The type of entity that was targeted by the action. |
| The actor who triggered the action. Could be a |
| The date and time that the action took place. |
| The serialized value of the subject entity. |
| URL of the subject entity. |
| For |
| UNIX timestamp when the webhook was sent. |
For example:
{
  "action": "create",
  "actor": {
    "id": "b5ea5f1f-8adc-4f52-b4bd-ab4e84cf51ba",
    "type": "user",
    "name": "Linear Orbit",
    "email": "orbit@linear.app",
    "url": "https://linear.app/company/profiles/orbit"
  },
  "data": {
    "id": "2174add1-f7c8-44e3-bbf3-2d60b5ea8bc9",
    "createdAt": "2020-01-23T12:53:18.084Z",
    "updatedAt": "2020-01-23T12:53:18.084Z",
    "archivedAt": null,
    "body": "Indeed, I think this is definitely an improvement over the previous version.",
    "edited": false,
    "issueId": "539068e2-ae88-4d09-bd75-22eb4a59612f",
    "userId": "aacdca22-6266-4c0a-ab3c-8fa70a26765c"
  },
  "type": "Comment",
  "url": "https://linear.app/issue/LIN-1778/foo-bar#comment-77217de3-fb52-4dad-bb9a-b356beb93de8",
  "createdAt": "2020-01-23T12:53:18.084Z",
  "organizationId": "dc844923-f9a4-40a3-825c-dea7747e57d6",
  "webhookTimestamp": 1676056940508,
  "webhookId": "000042e3-d123-4980-b49f-8e140eef9329"
}
Other events payload
These fields will be present on all other events as well.
Field | Description |
|---|---|
| The type of the action that took place. Specific to the event stream. For Issue SLA this is for example one of |
| The type of entity that was targeted by the action. |
| The actor who triggered the action. Could be a |
| The date and time that the action took place. |
| URL of the subject entity. |
| For |
| UNIX timestamp when the webhook was sent. |
| ID uniquely identifying this webhook. |
Issue SLA fields
Field | Description |
|---|---|
| The serialized value of the issue. |
OAuthApp revoked fields
Field | Description |
|---|---|
| id of OAuth App that was revoked. |
| Organization from which OAuth App was revoked. |
Securing Webhooks
You should ensure that webhooks you received were sent by Linear. You can do this in two ways: verifying the webhook request signature and timestamp, and checking the source IP address.
Linear sends a Linear-Signature HTTP header with every webhook request. This header contains a hex-encoded HMAC-SHA256 signature of the raw body contents, signed using the webhook’s signing secret. You can find the signing secret on the webhook’s detail page.
The parsed JSON body has a webhookTimestamp field with a UNIX timestamp, in milliseconds, indicating the time when the webhook was sent. We recommend that you verify it’s within a minute of the time your system sees it to guard against replay attacks.
To verify the webhook, you need to compute the signature of the request body using the webhook’s signing secret and compare it against the Linear-Signature header. It’s strongly recommended to use raw request body rather than restringifying a parsed JSON body, otherwise the signature may differ. Once the signature has been validated, check to ensure that the webhook timestamp is reasonably current before processing the request:
// Express example:
const crypto = require("node:crypto");
const express = require("express");

const LINEAR_WEBHOOK_SECRET = process.env.LINEAR_WEBHOOK_SECRET;

function verifySignature(headerSignatureString, rawBody) {
  if (typeof headerSignatureString !== "string") {
    return false;
  }
  const headerSignature = Buffer.from(headerSignatureString, "hex");
  const computedSignature = crypto
    .createHmac("sha256", LINEAR_WEBHOOK_SECRET)
    .update(rawBody)
    .digest();

  return crypto.timingSafeEqual(computedSignature, headerSignature);
}

const app = express();

app.post(
  "/webhook",
  express.json({
    verify: (req, _res, buf) => {
      // Capture the raw body for signature verification.
      req.rawBody = buf;
    },
  }),
  (req, res) => {
    if (!verifySignature(req.get("linear-signature"), req.rawBody)) {
      return res.sendStatus(401);
    }

    if (Math.abs(Date.now() - req.body.webhookTimestamp) > 60 * 1000) {
      // Reject any webhooks not within 60 seconds of the current time to prevent replay attacks.
      return res.sendStatus(401);
    }

    try {
      // ... Handle verified webhook ...
      return res.sendStatus(200);
    } catch (err) {
      // Indicate to Linear that there was a server error so the webhook is retried later.
      return res.sendStatus(500);
    }
  }
);

app.listen(8080, () => console.log("Serving on port 8080"));
In addition to verifying the signature, you can check the source IP address. Linear sends webhooks from the following IP addresses:
- 35.231.147.226
- 35.243.134.228
- 34.140.253.14
- 34.38.87.206
- 34.134.222.122
- 35.222.25.142
We may occasionally update this list to add new IP addresses.