Concepts
Linear is built around a few core concepts that work together to help teams plan, track, and ship product work. Understanding how these concepts relate makes it easier to organize work at every level, from a single bug fix to a company-wide initiative.
Basic concepts
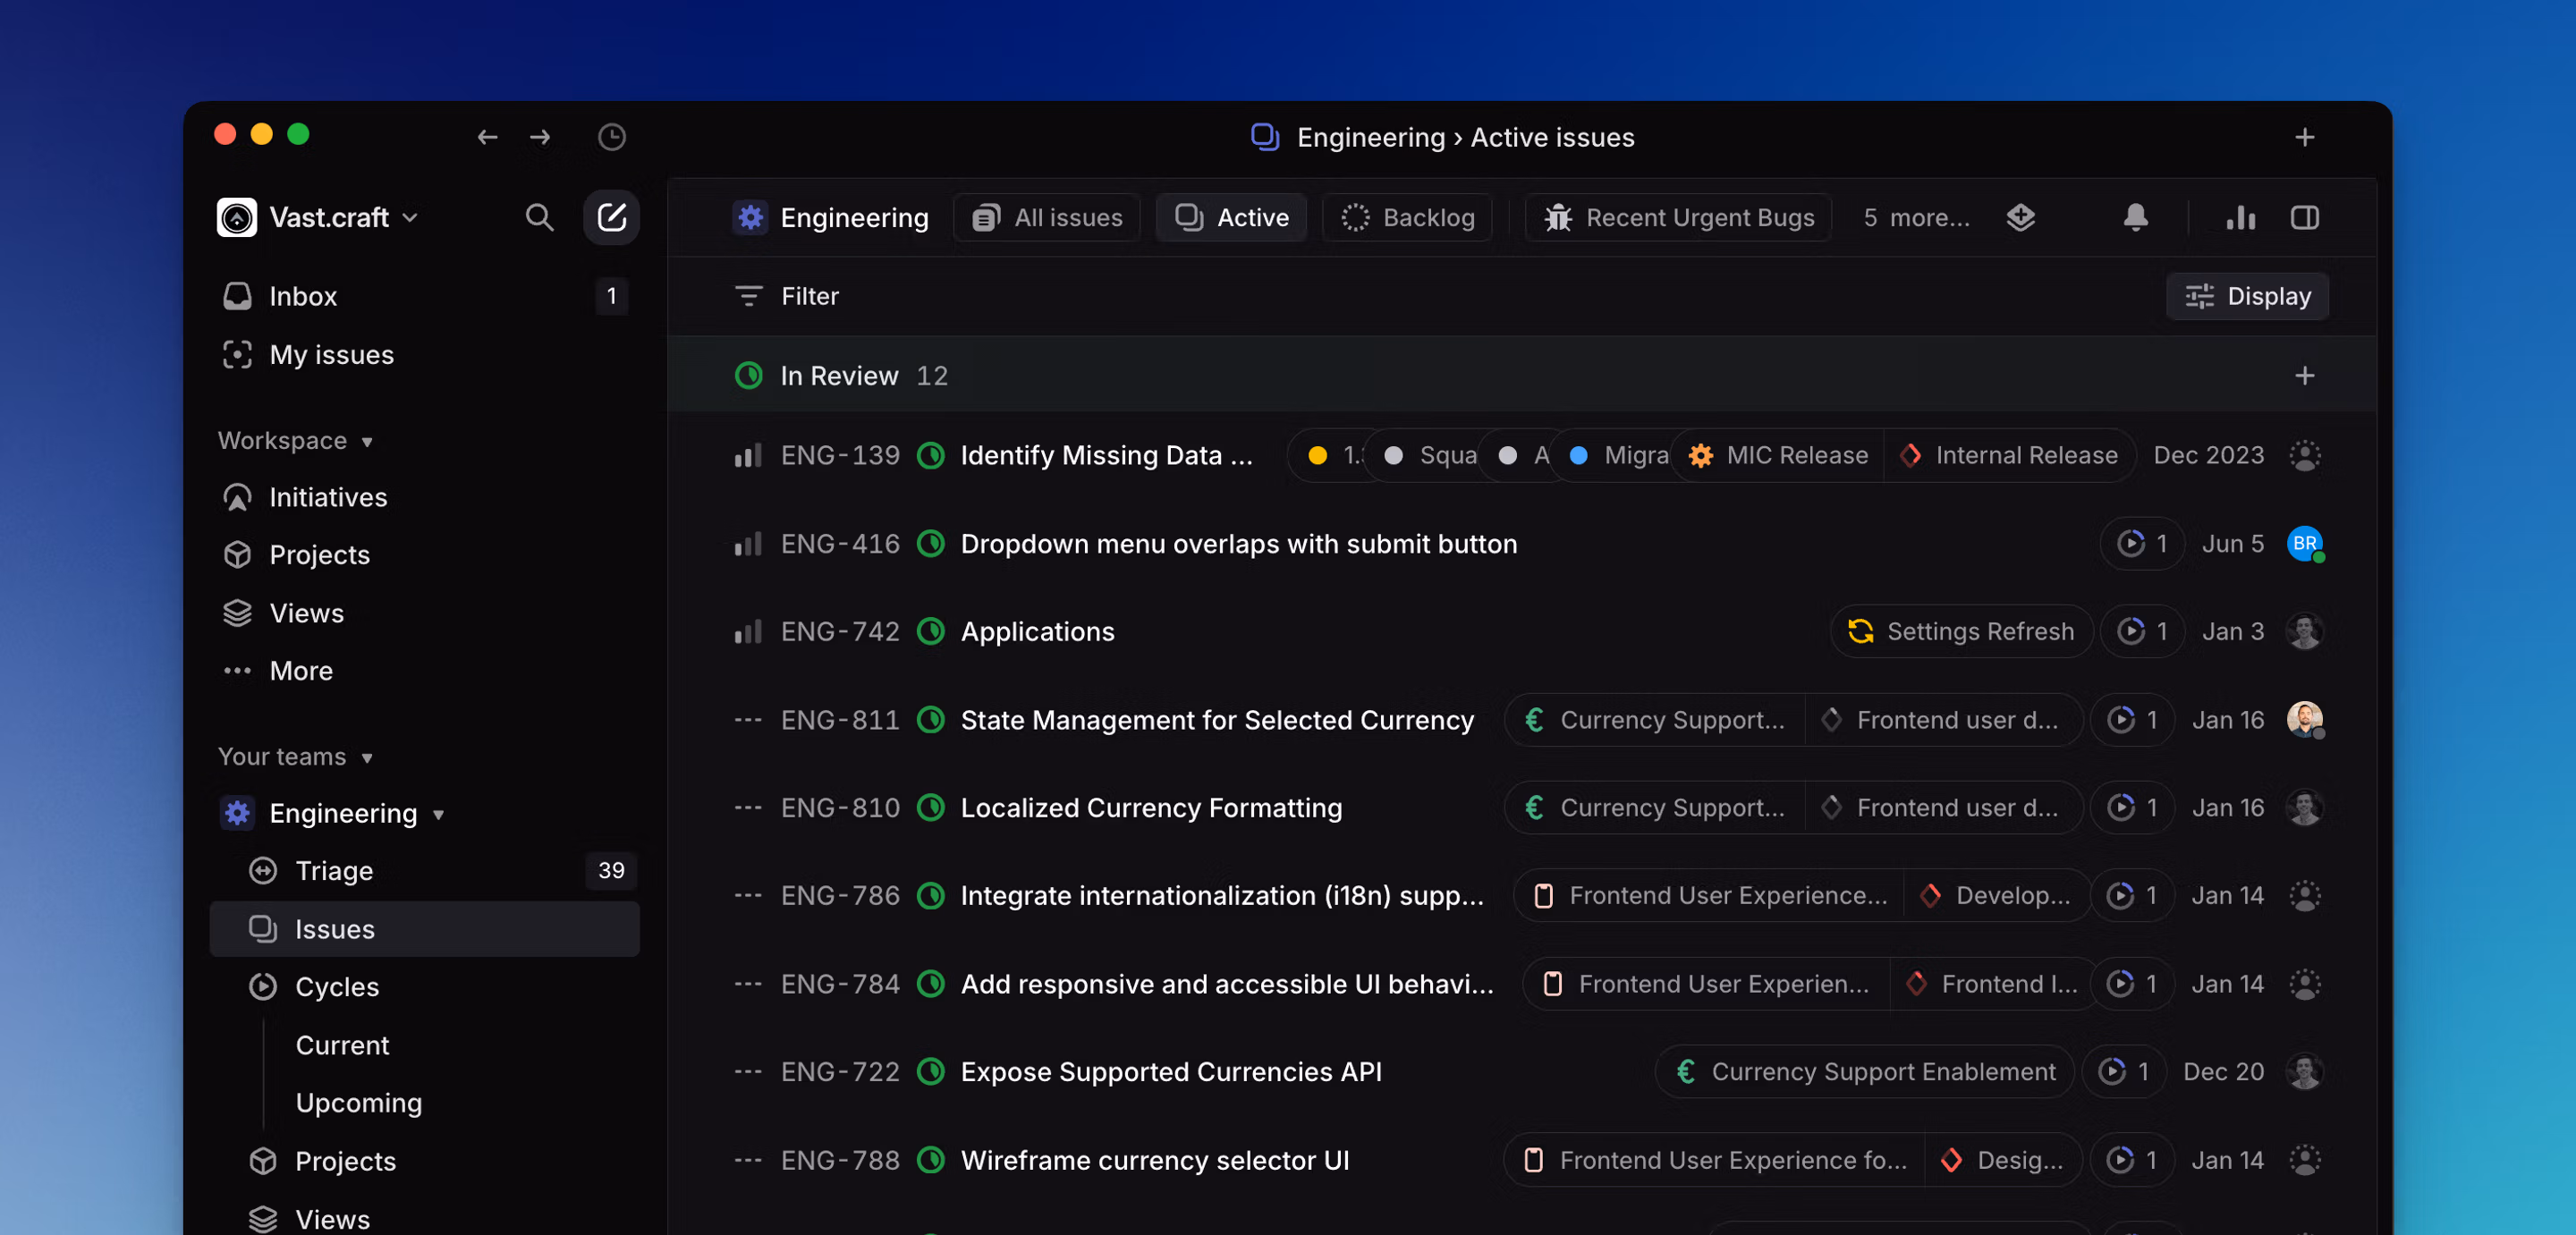
Issues
Issues are the fundamental unit of work in Linear. They represent anything a team needs to track, such as bugs, feature work, follow-up tasks, or internal requests.
An issue belongs to a team and moves through that team’s workflow. It can be assigned to a person, added to a project, planned into a cycle, labeled, prioritized, and discussed in comments.
In practice, most day-to-day work in Linear starts with an issue.
Read more on creating issues.
Workflows
As you work on and complete issues, they’ll move through workflows; a group of ordered issue statuses defined per-team. These are the statuses that you’ll see group issues on list views and show up as column headers on boards. We create a default workflow for you that you can further customize in Team Settings.
Read more on workflows.
Triage
Triage is the process of reviewing new work and deciding what should happen next. Teams often use it to evaluate incoming issues before they are scheduled, assigned, or prioritized.
Depending on the team’s workflow, triage may involve:
- clarifying the problem
- deciding whether the work should be tracked
- assigning ownership
- setting priority
- moving the issue into the appropriate next status
Triage helps ensure new work is reviewed intentionally instead of getting lost in the backlog.
Read more on triage.
Teams
Teams are the primary organizational unit in Linear. Each team owns its own workflow, triage process, and planning cadence.
A team can define:
- its workflow statuses
- its cycles
- its labels and other conventions
- the set of issues it owns
Teams can also be structured into parent teams and sub-teams. Sub-teams can inherit certain settings from a parent team, such as workflow configuration, cycles, or labels, depending on how the team structure is set up. This helps related groups stay aligned while still allowing each team to work independently where needed.
Read more on teams and sub-teams.
Workspace
A Linear workspace is the container for all issues, teams and other concepts relating to an individual company. As a user, you can have accounts on one or many workspaces and can switch between these accounts using the dropdown menu in the top left-hand corner of the application. Workspaces each have a unique URL in the style linear.app/example. When you log into Linear, you’re logging into a specific workspace.
Read more on workspaces.
Organizing work
Projects
Projects group issues together around a shared outcome. They are useful when work spans multiple issues and needs coordination, visibility, and progress tracking.
A project might represent:
- a feature launch
- a customer migration
- a redesign
- a technical investment
- any other body of work that benefits from shared context and milestones
Projects help teams track progress across related issues and communicate status to stakeholders.
Learn more about projects.
Milestones
Milestones are a concept used to further organize issues inside an individual project. For each project, define milestones in a way that represent meaningful stages of completion for that project, and assign issues in the project to those milestones.
You can filter by milestones in a project, and easily see how close to completion an individual milestone is at a given time based on the issues belonging to that milestone.
Initiatives
Initiatives sit above projects and represent broader strategic efforts. They help organize work at a higher level, especially when several projects contribute to the same goal.
An initiative can contain multiple projects, making it useful for tracking larger efforts that span teams or phases of work. Initiatives can also have parent and sub-initiative relationships, which allows complex work to be broken into smaller strategic areas while still rolling up into a larger objective.
Use initiatives when the question is not just what the team is shipping, but why the work matters and how multiple efforts connect.
Read more on initiatives and sub-initiatives.
Cycles
Cycles are a team’s repeating planning period for issues. They help teams decide what to work on in the near term and create a predictable rhythm for execution.
A cycle is typically used to:
- plan a set of issues for a fixed period
- focus the team on current work
- measure delivery over time
Cycles belong to teams, and in some team structures they can be inherited by sub-teams.
Cycles are automated and repeating; you’ll set a start date and duration for cycles, which will then repeat every N weeks.
Read more on cycles.
Views
Views are different ways of looking at the same underlying work. They do not change the work itself—they help teams organize and focus it.
A view might show:
- all issues assigned to a person
- work in a specific project
- issues in the current cycle
- a team backlog
- filtered work across multiple teams
Views make it easier to move between personal execution, team planning, and broader coordination.
Read more on custom views.
How these concepts fit together
The way to think about Linear is:
- issues track individual pieces of work
- teams own the workflows those issues move through
- cycles help teams plan short-term work
- projects organize related issues around a deliverable
- initiatives organize related projects around a broader goal
- views help people navigate all of the above