Workspace Owner
The workspace owner role has full administrative access, while the Admin role becomes more restricted. Use the new Admin role to allow updating most routine settings without granting access to billing or security configurations.
Basics
When switching to the Enterprise plan, all existing admins will automatically be switched to workspace owners. A new, limited admin role will be available for use. No changes will occur to Member or Guest roles.
Using the now limited admin role, workspace owners can allow a greater number of admins to handle routine tasks like managing public teams, without increasing the number of people with access to your workspace’s most sensitive settings.
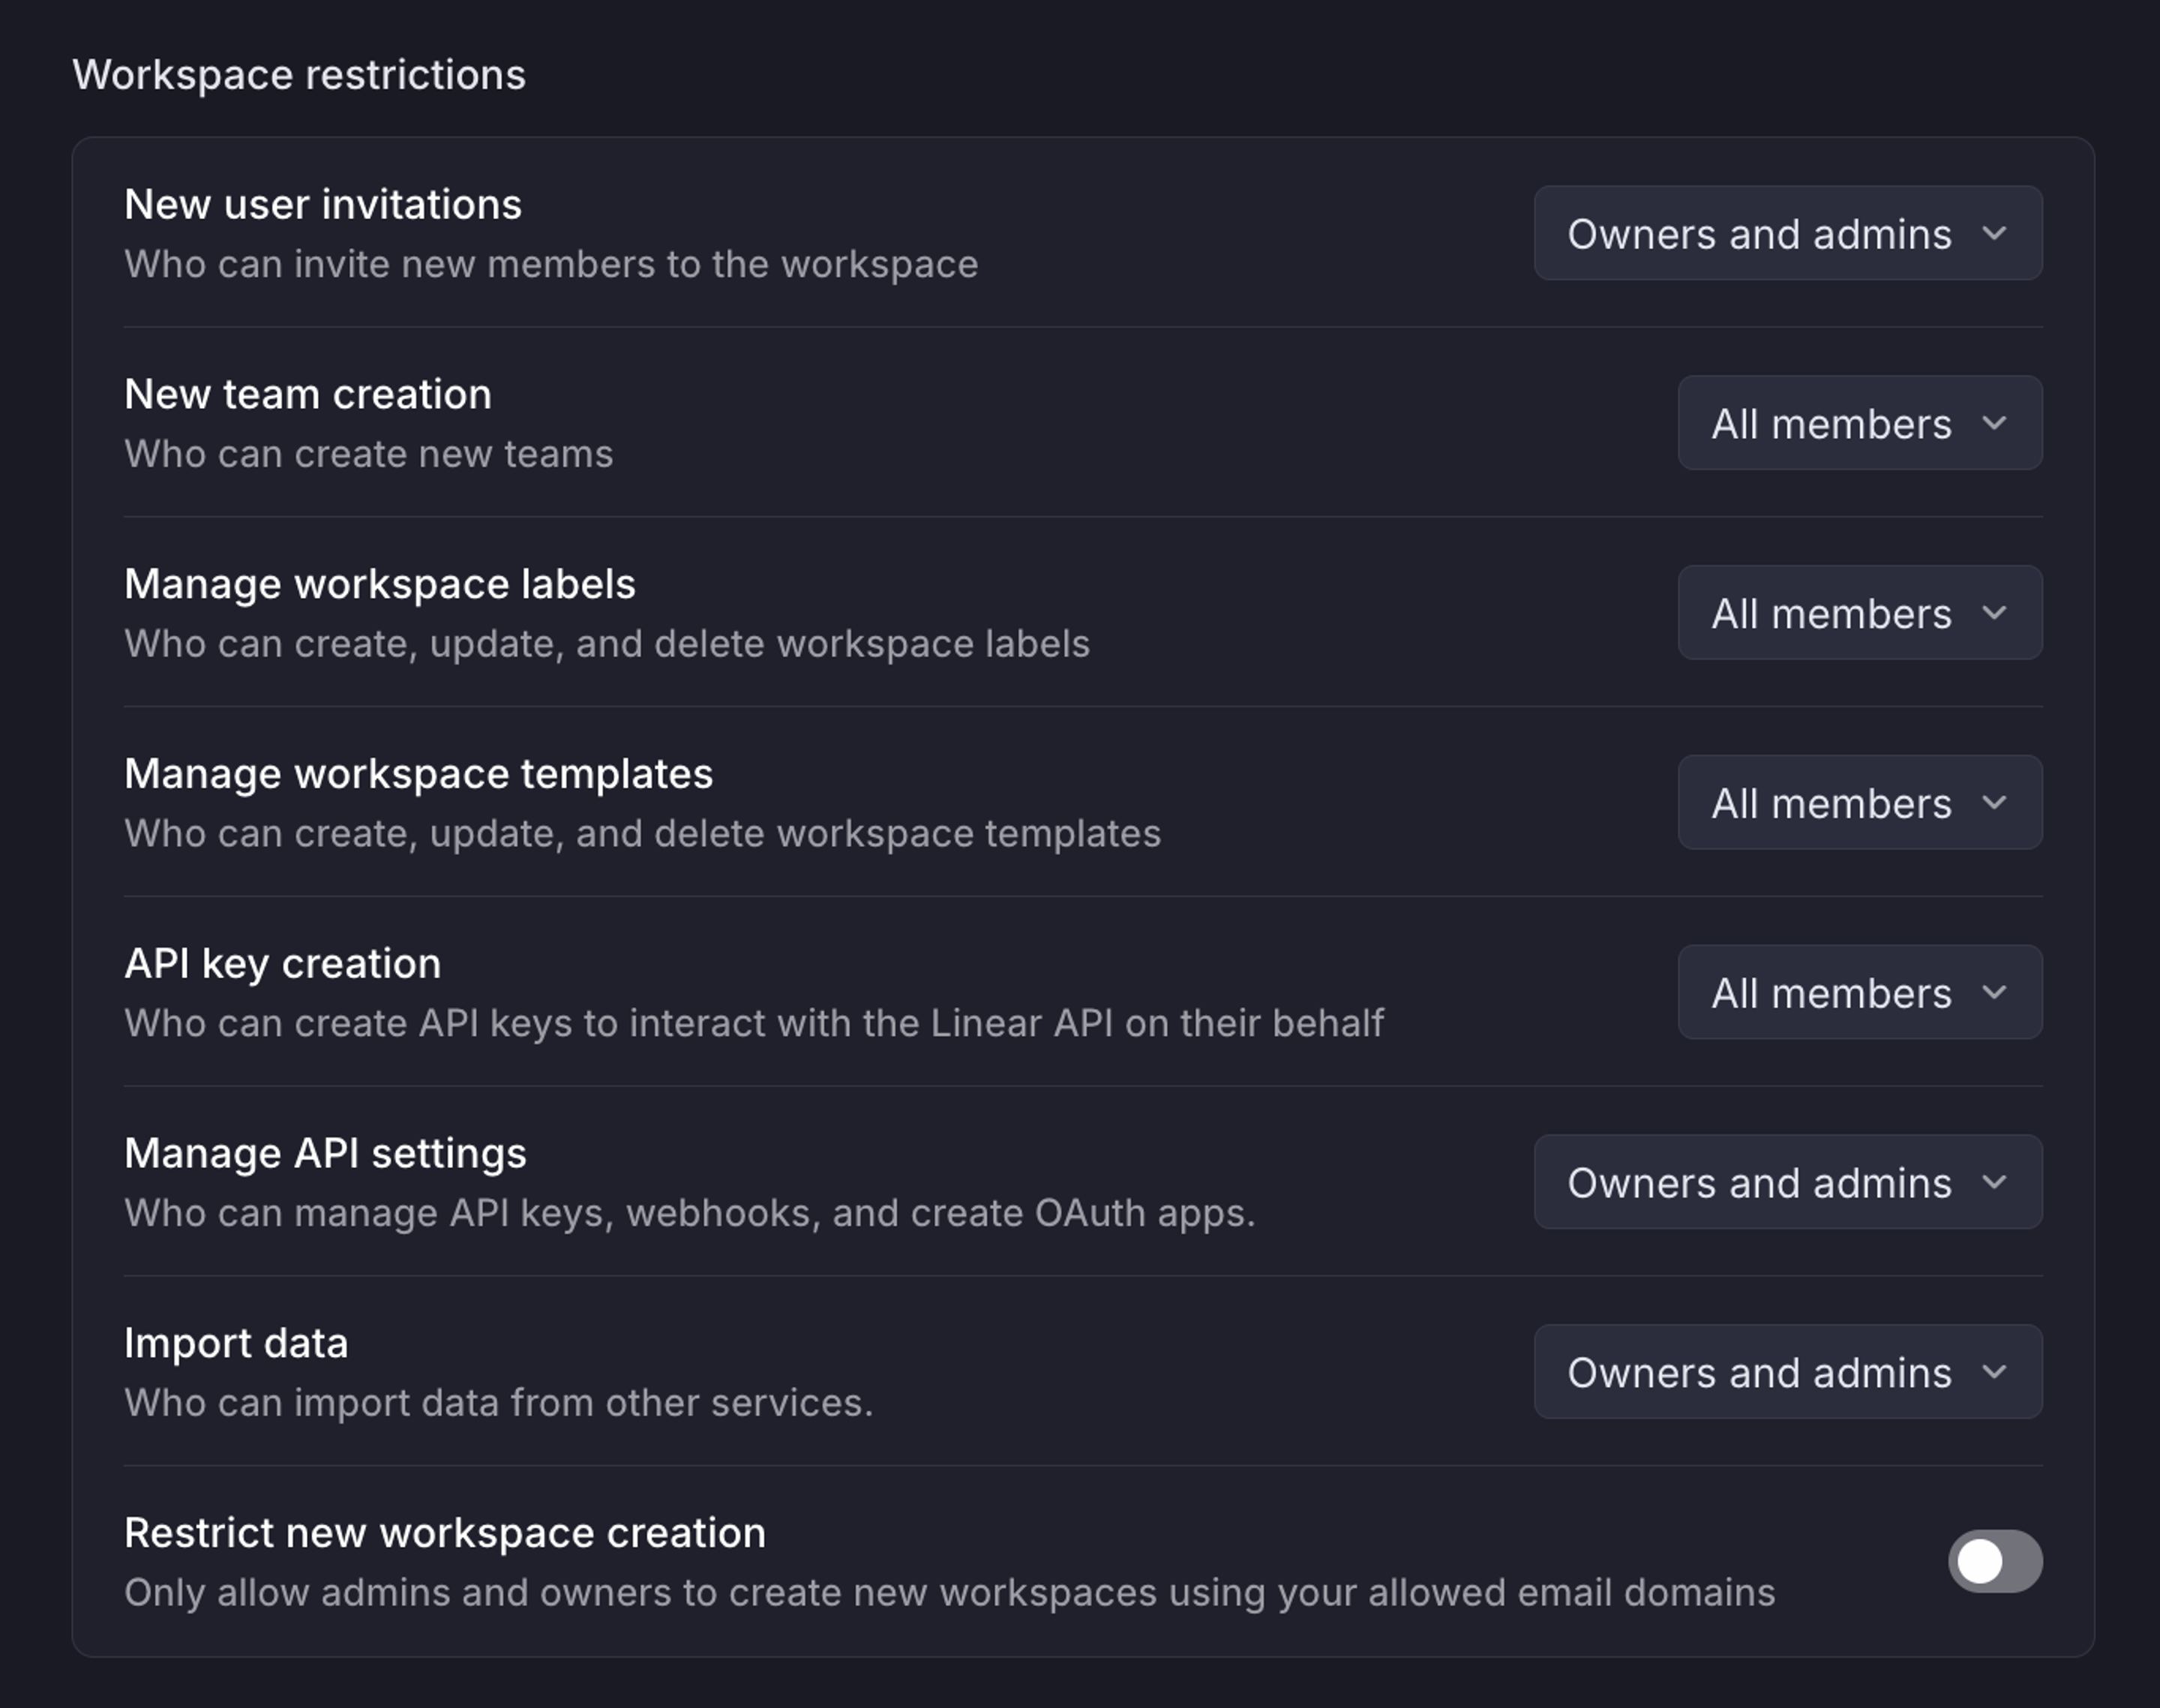
Workspace owners can manage which roles have access to workspace-level actions through Settings > Administration > Security under the “Workspace restrictions” section.
Permissions by role
Legend:
✅ Available
❌ Unavailable
🟨 Available by default, but can be restricted in security settings
🟣 Admins can only manage team settings for public teams or private teams they are a member of
Action | Workspace Owner | Admin |
|---|---|---|
Workspace configuration | ||
Change workspace name, icon, enable/disable features at workspace level | ✅ | ❌ |
Delete workspace | ✅ | ❌ |
Restrict workspace creation | ✅ | ❌ |
Security & compliance | ||
Manage security settings | ✅ | ❌ |
View audit log | ✅ | ❌ |
Manage OAuth app approvals | ✅ | ❌ |
User & access management | ||
Invite users | ✅ | 🟨 |
Promote or demote members to admin | ✅ | ✅ |
Promote or demote admins to owners | ✅ | ❌ |
Team management | ||
Create and delete teams | ✅ | ✅ |
Manage all public teams | ✅ | ✅ |
Manage all private teams | ✅ | 🟣 |
Manage Triage Rules | ✅ | 🟣 |
Integrations and API | ||
Enable and disconnect integrations | ✅ | ✅ |
Manage API settings | ✅ | 🟨 |
Create webhooks | ✅ | 🟨 |
Create OAuth apps | ✅ | 🟨 |
Workflows | ||
Manage Labels | ✅ | 🟨 |
Manage Project Statuses | ✅ | ✅ |
Manage SLA settings | ✅ | ✅ |
Manage AI settings | ✅ | ✅ |
Manage Customer Requests | ✅ | ✅ |
Data & billing | ||
Billing | ✅ | ❌ |
Workspace imports | ✅ | 🟨 |
Workspace exports | ✅ | ❌ |
Managing admin and owner roles with SCIM
Migrating from admins to owners
If your workspace has SCIM enabled and is currently managing permissions via linear-admins, your linear-admins group will automatically be updated to manage owners, not admins. This means that all users in linear-admins will become owners, however the name of the group will not change automatically.
If you now want to additionally start managing admins, you have two options:
Rename the admins group
To rename the linear-admins group, you’ll first need to make sure your IdP supports syncing group name changes to connected apps. For example, in Okta, this can be configured using the “Rename app groups to match group name in Okta” setting.
If your IdP does not support this—or you’d prefer not to enable this setting—skip ahead to Re-link the admins group.
If syncing group name changes is supported, follow these steps:
- Rename the
linear-adminsgroup tolinear-owners. - Create a new
linear-adminsgroup in your IdP and push it to Linear. - Move all desired admin users from the
linear-ownersgroup into the newlinear-adminsgroup.
Re-link the admins group
If your IdP does not support syncing group name changes, you can re-link groups instead:
- Create a new group called
linear-owners. - Unlink the existing
linear-adminsgroup from Linear in your IdP. - Move all desired owners from the old
linear-adminsgroup into the newlinear-ownersgroup. - Push the new
linear-adminsandlinear-ownersgroups to Linear.
Starting fresh
If you’re starting fresh with SCIM, you’ll need to create a linear-owners group to manage owners, in addition to the groups described here.